SkySplat Blender Walkthrough
This comprehensive walkthrough will guide you through the complete process of creating 3D Gaussian Splats from drone footage using SkySplat in Blender.
Overview
SkySplat provides a streamlined workflow for creating 3D Gaussian Splats from drone footage. The process involves:
- Loading and processing drone video
- Extracting frames for reconstruction
- Running COLMAP for Structure from Motion
- Transforming and scaling the COLMAP model
- Training the Gaussian Splat with Brush
- Loading and rendering the final result
Example Workflow
1. Accessing the Toolkit
- Open the sidebar in the 3D View (press N)
- Select the “SkySplat” tab
2. Loading Drone Footage
- You can download the example video used in this walkthrough at windsor_silo (right click and save as) (This is a new video of the silo that tends to work better in COLMAP)
- Select your video file in the “Video File” field in the 3D Viewport
- If available, the SRT metadata file will be detected automatically
- Click “Load Video and SRT” to import into the Video Sequencer
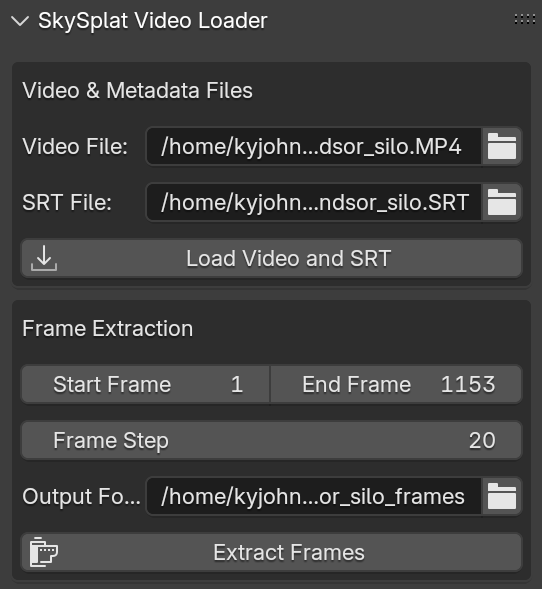
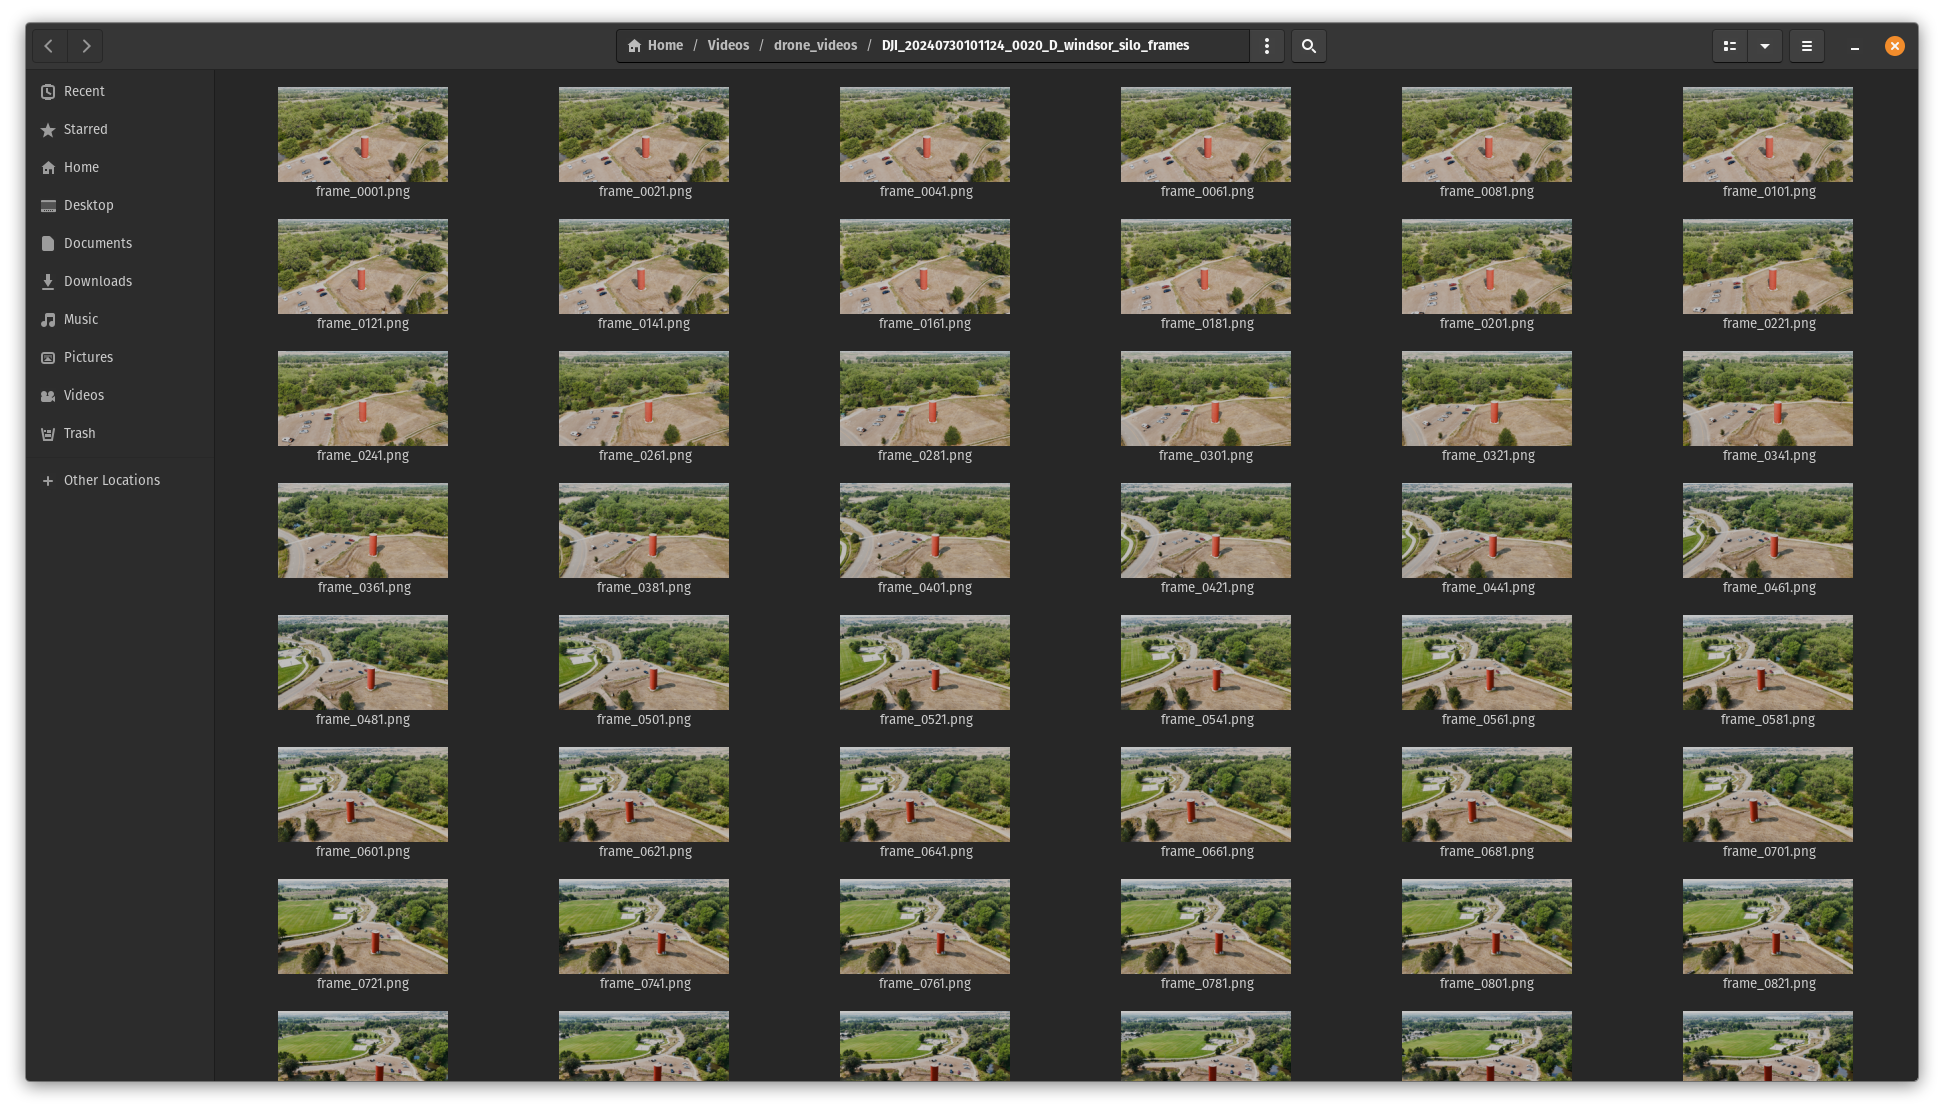
3. Extracting Frames
- Set your desired frame range and step value. Version 0.3.0 of SkySplat will automatically select the frame step value to get the total number of extracted frames to about 170. Smaller step size means more frames and better reconstruction, but also longer processing times.
- Confirm or modify the output folder
- Click “Extract Frames” to process
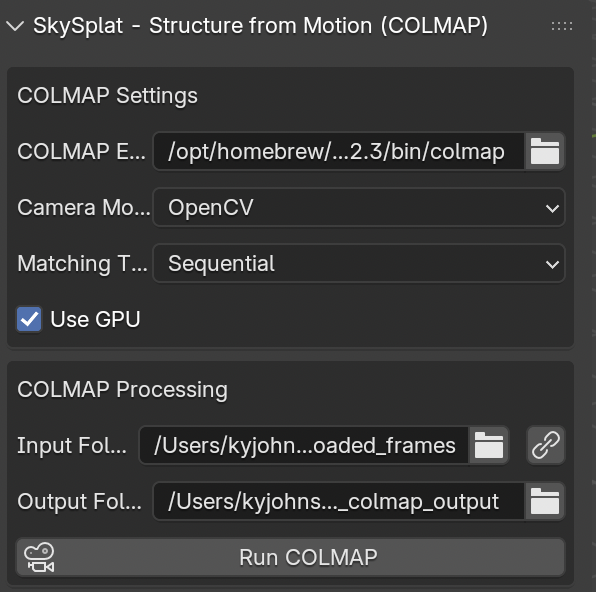
4. COLMAP Workflow
- Configure COLMAP settings in the SkySplat COLMAP panel
- COLMAP Executable should auto populate with your systems default path, however you can manually set it if needed (on MacOS this path will be
/opt/homebrew/bin/colmapif you used the homebrew as the install method as described in the installation guide) - If the input and output paths for the models aren’t loaded, you can click the chain link icon to auto populate them from the video file path and defaults.
- The defaults for the other settings should be sufficient for your first few runs.
- Click “Run COLMAP” to begin processing your video frames into a sparse point cloud (you can monitor the console running blender for detailed colmap output)
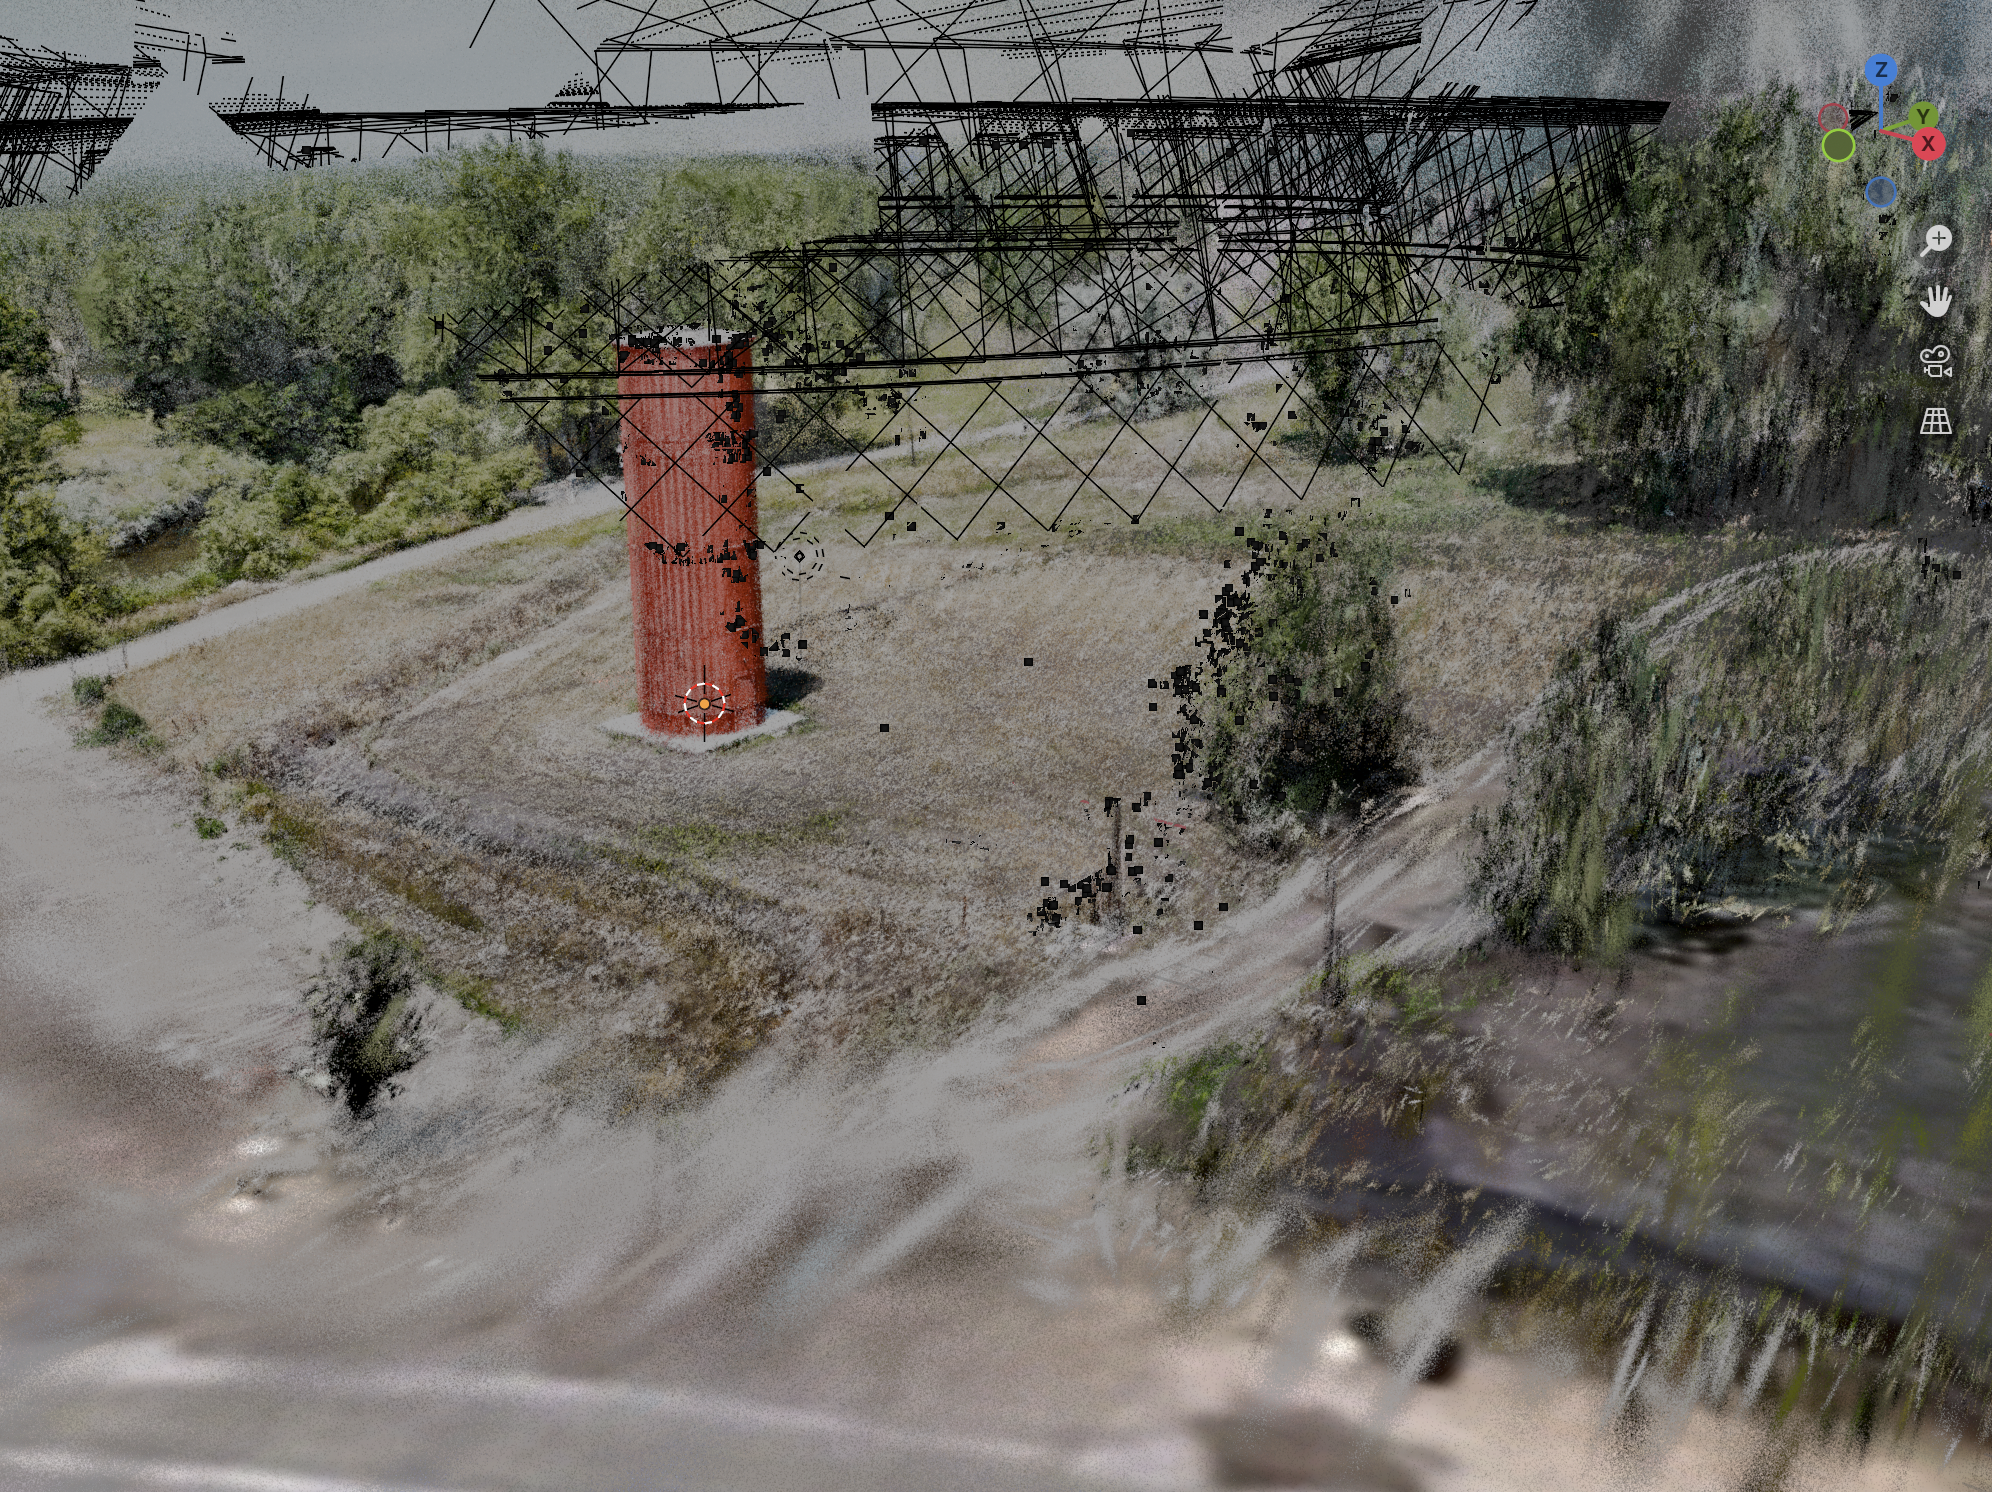
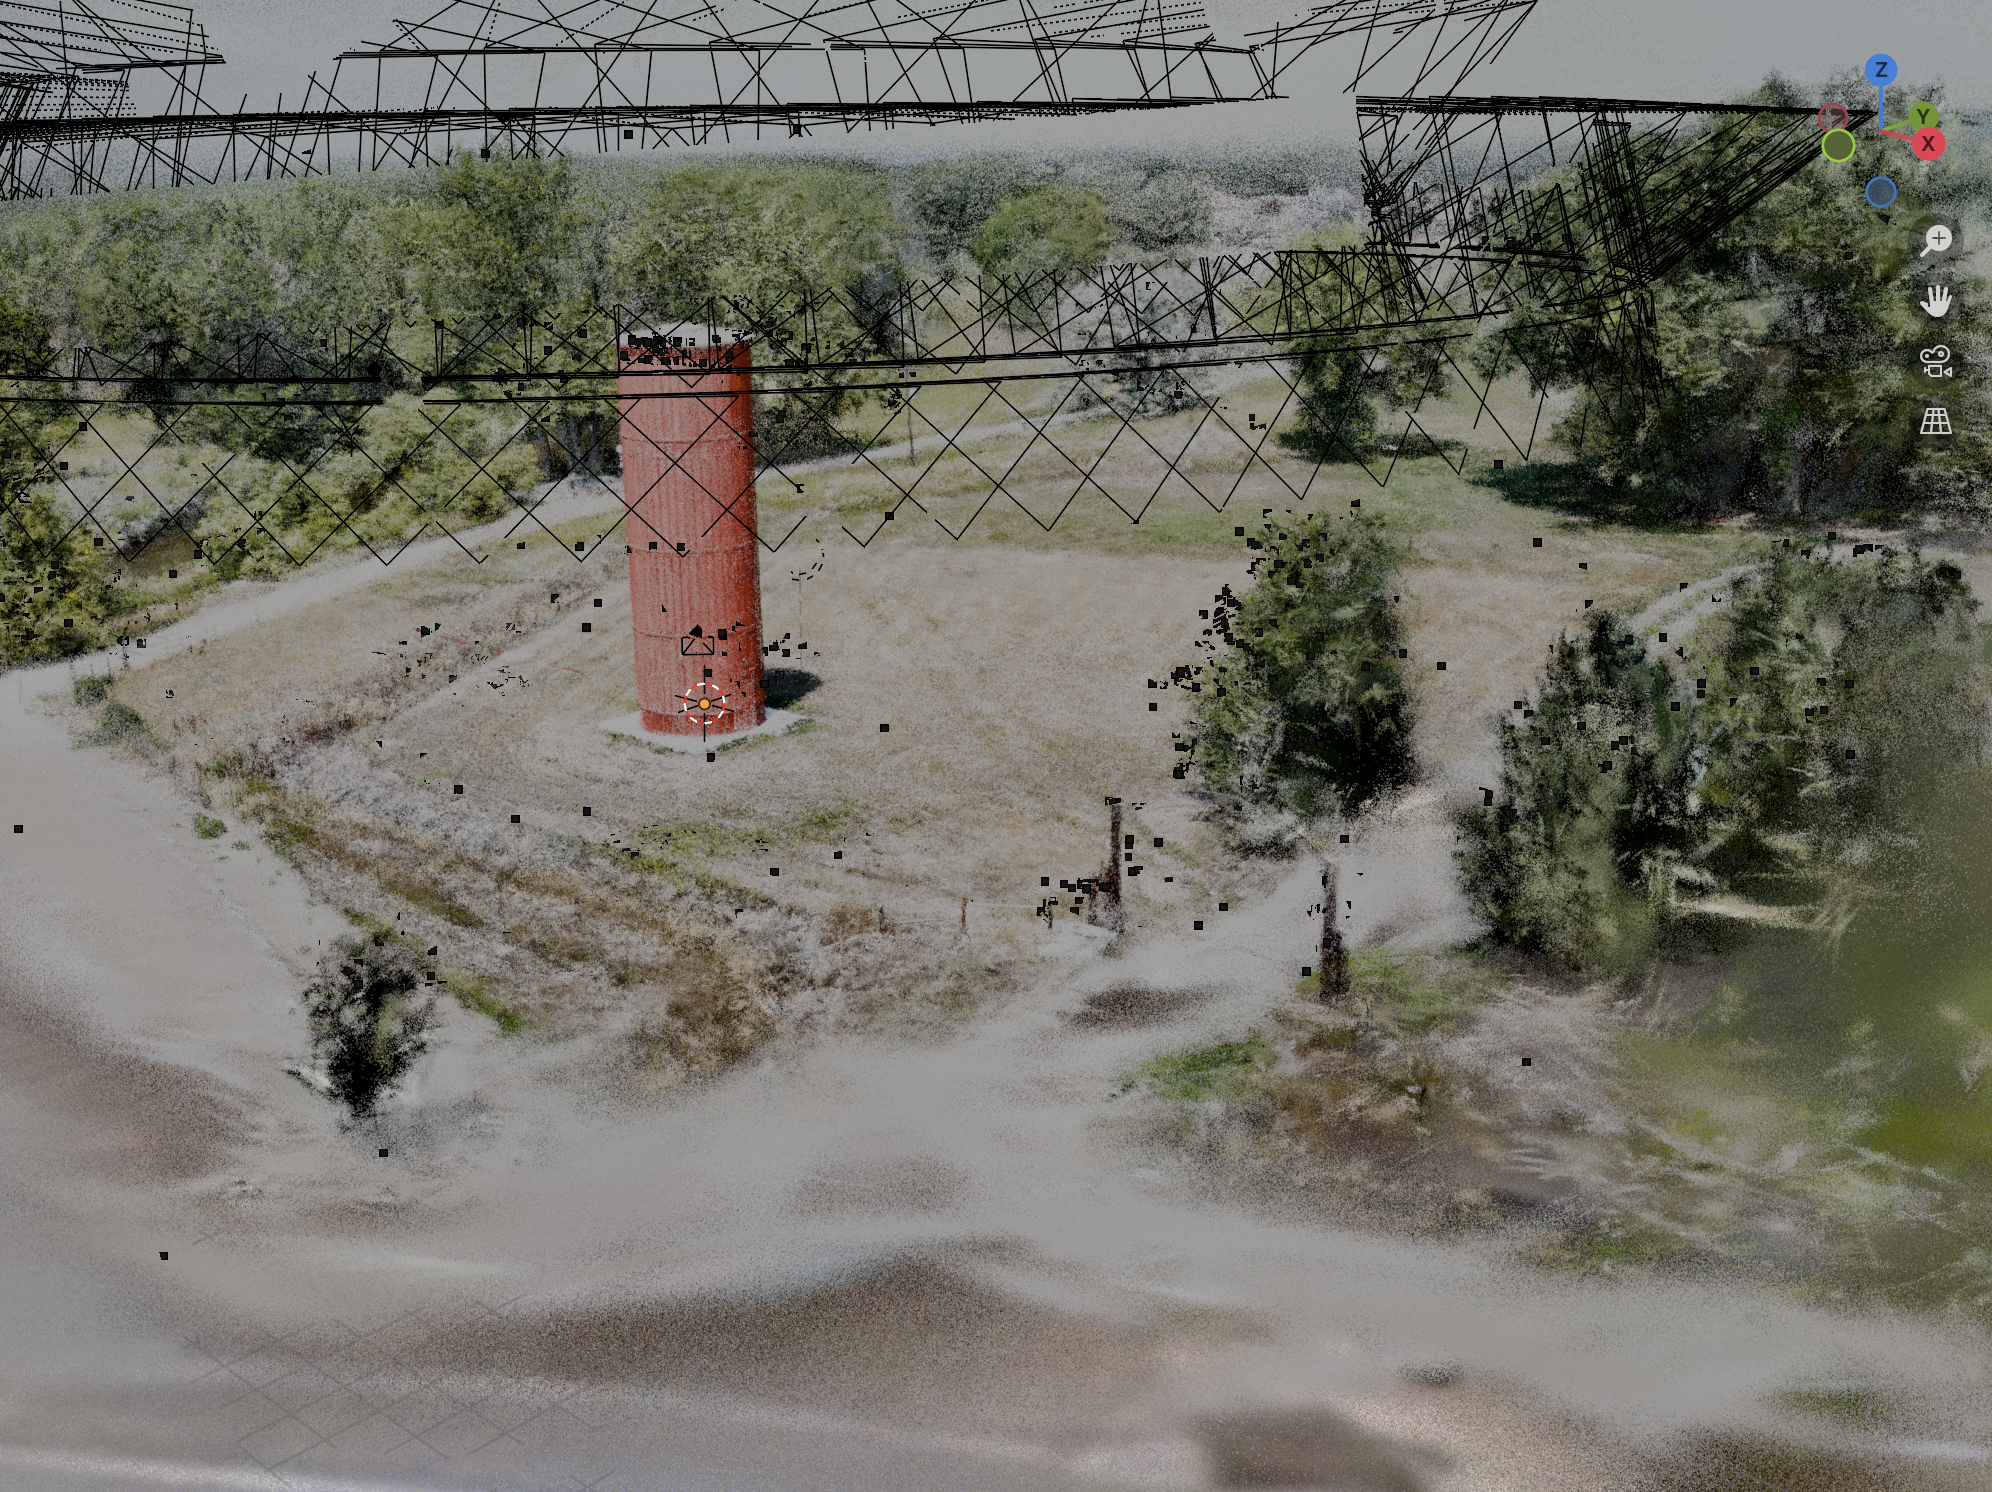
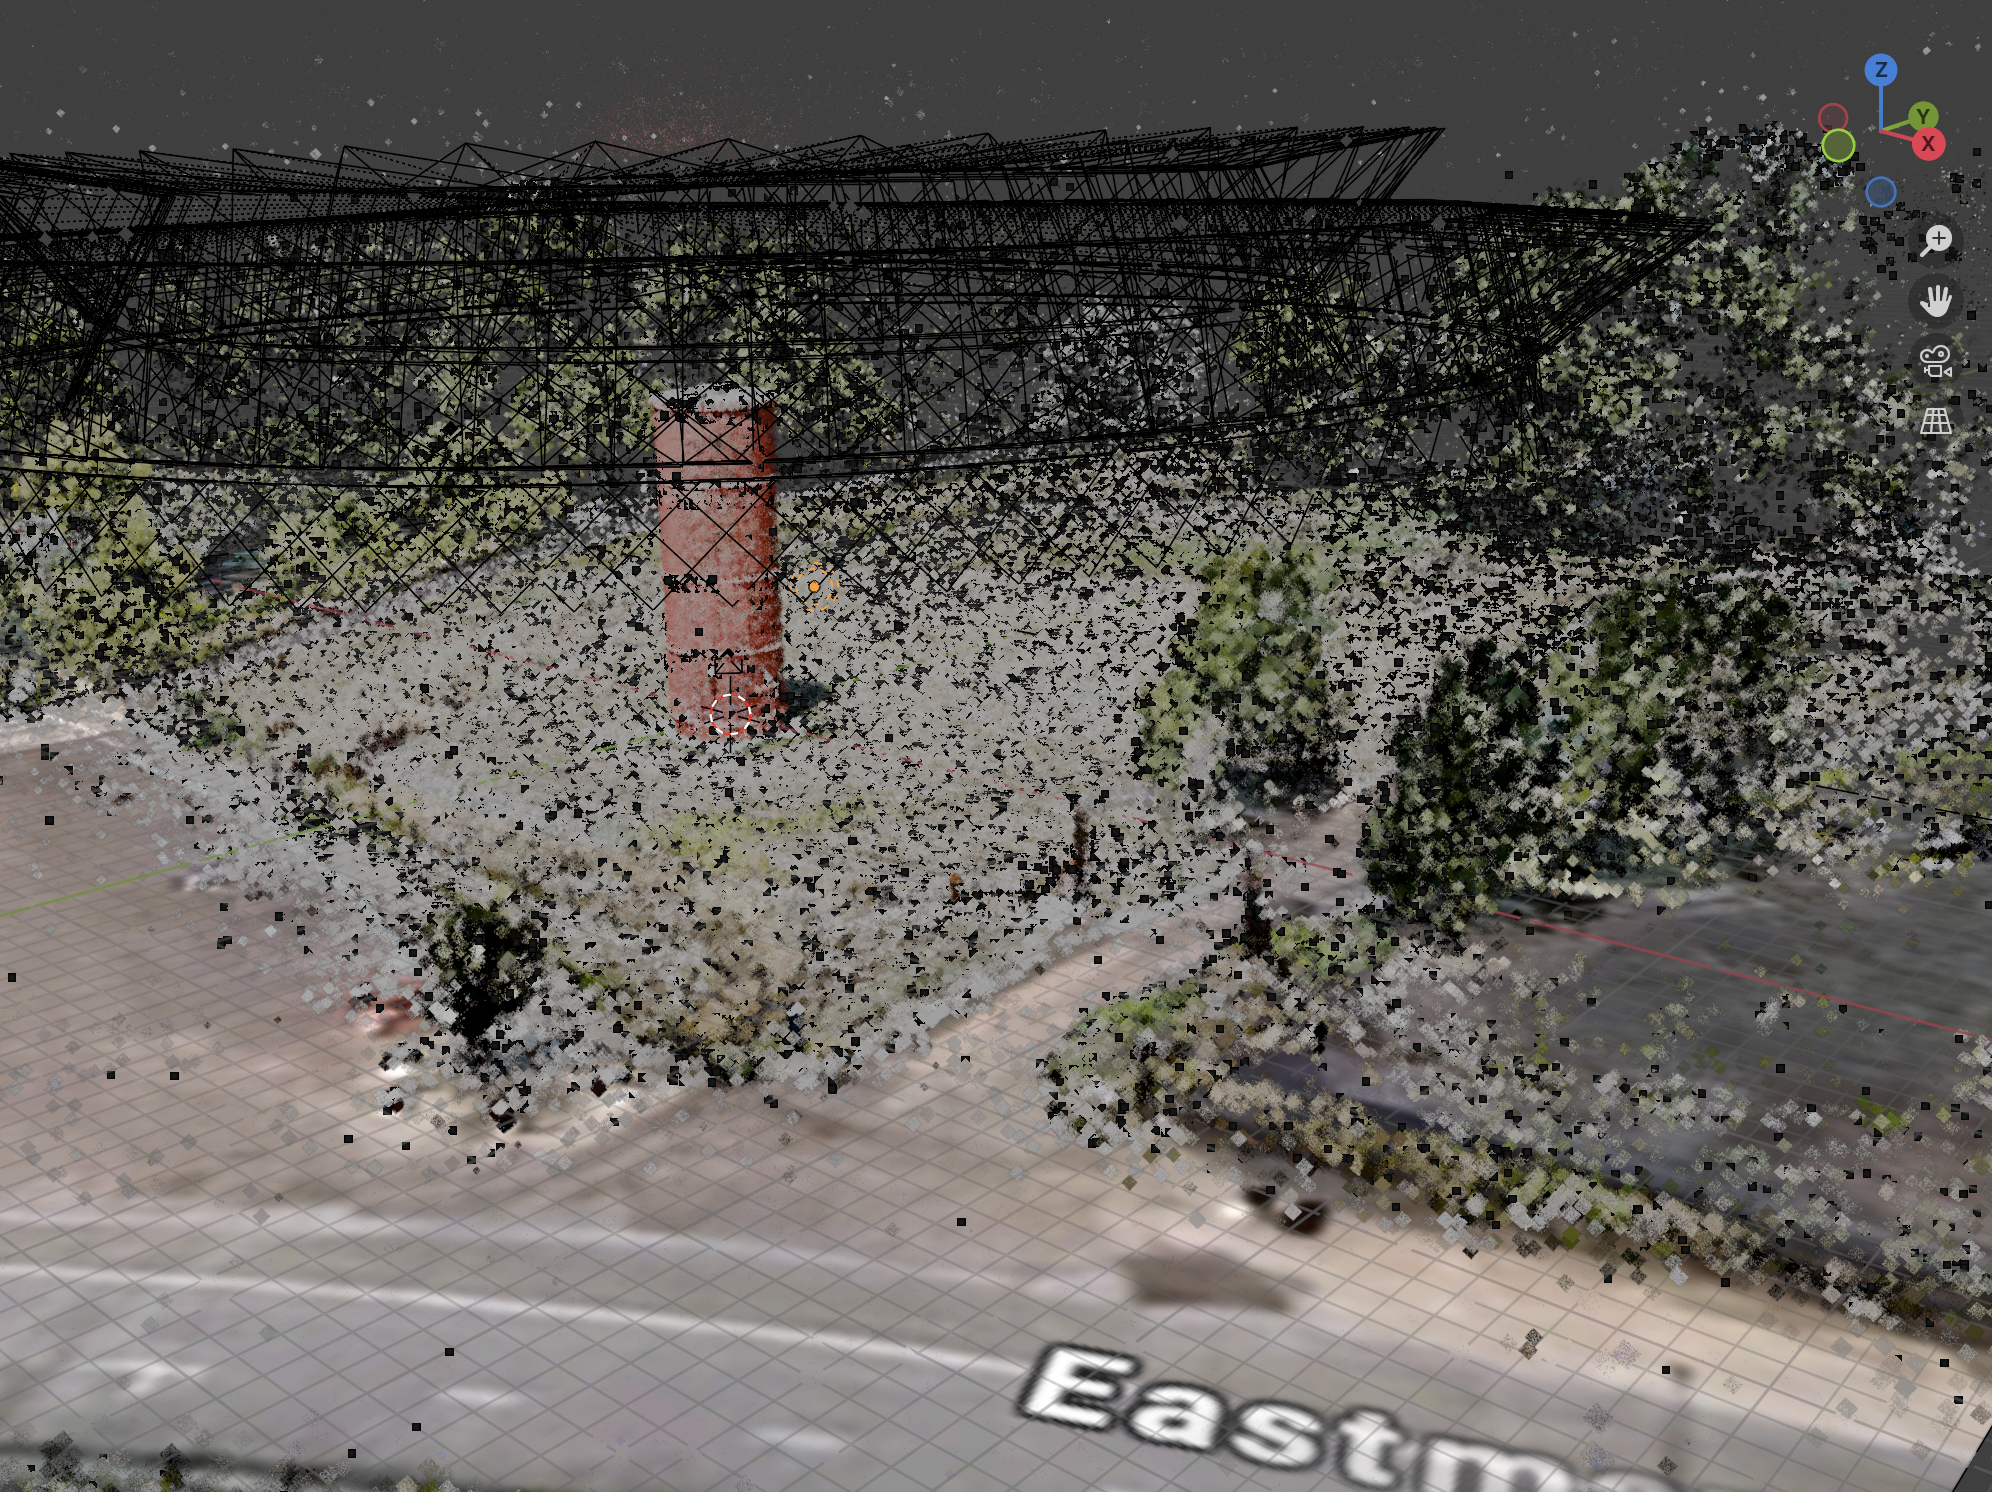
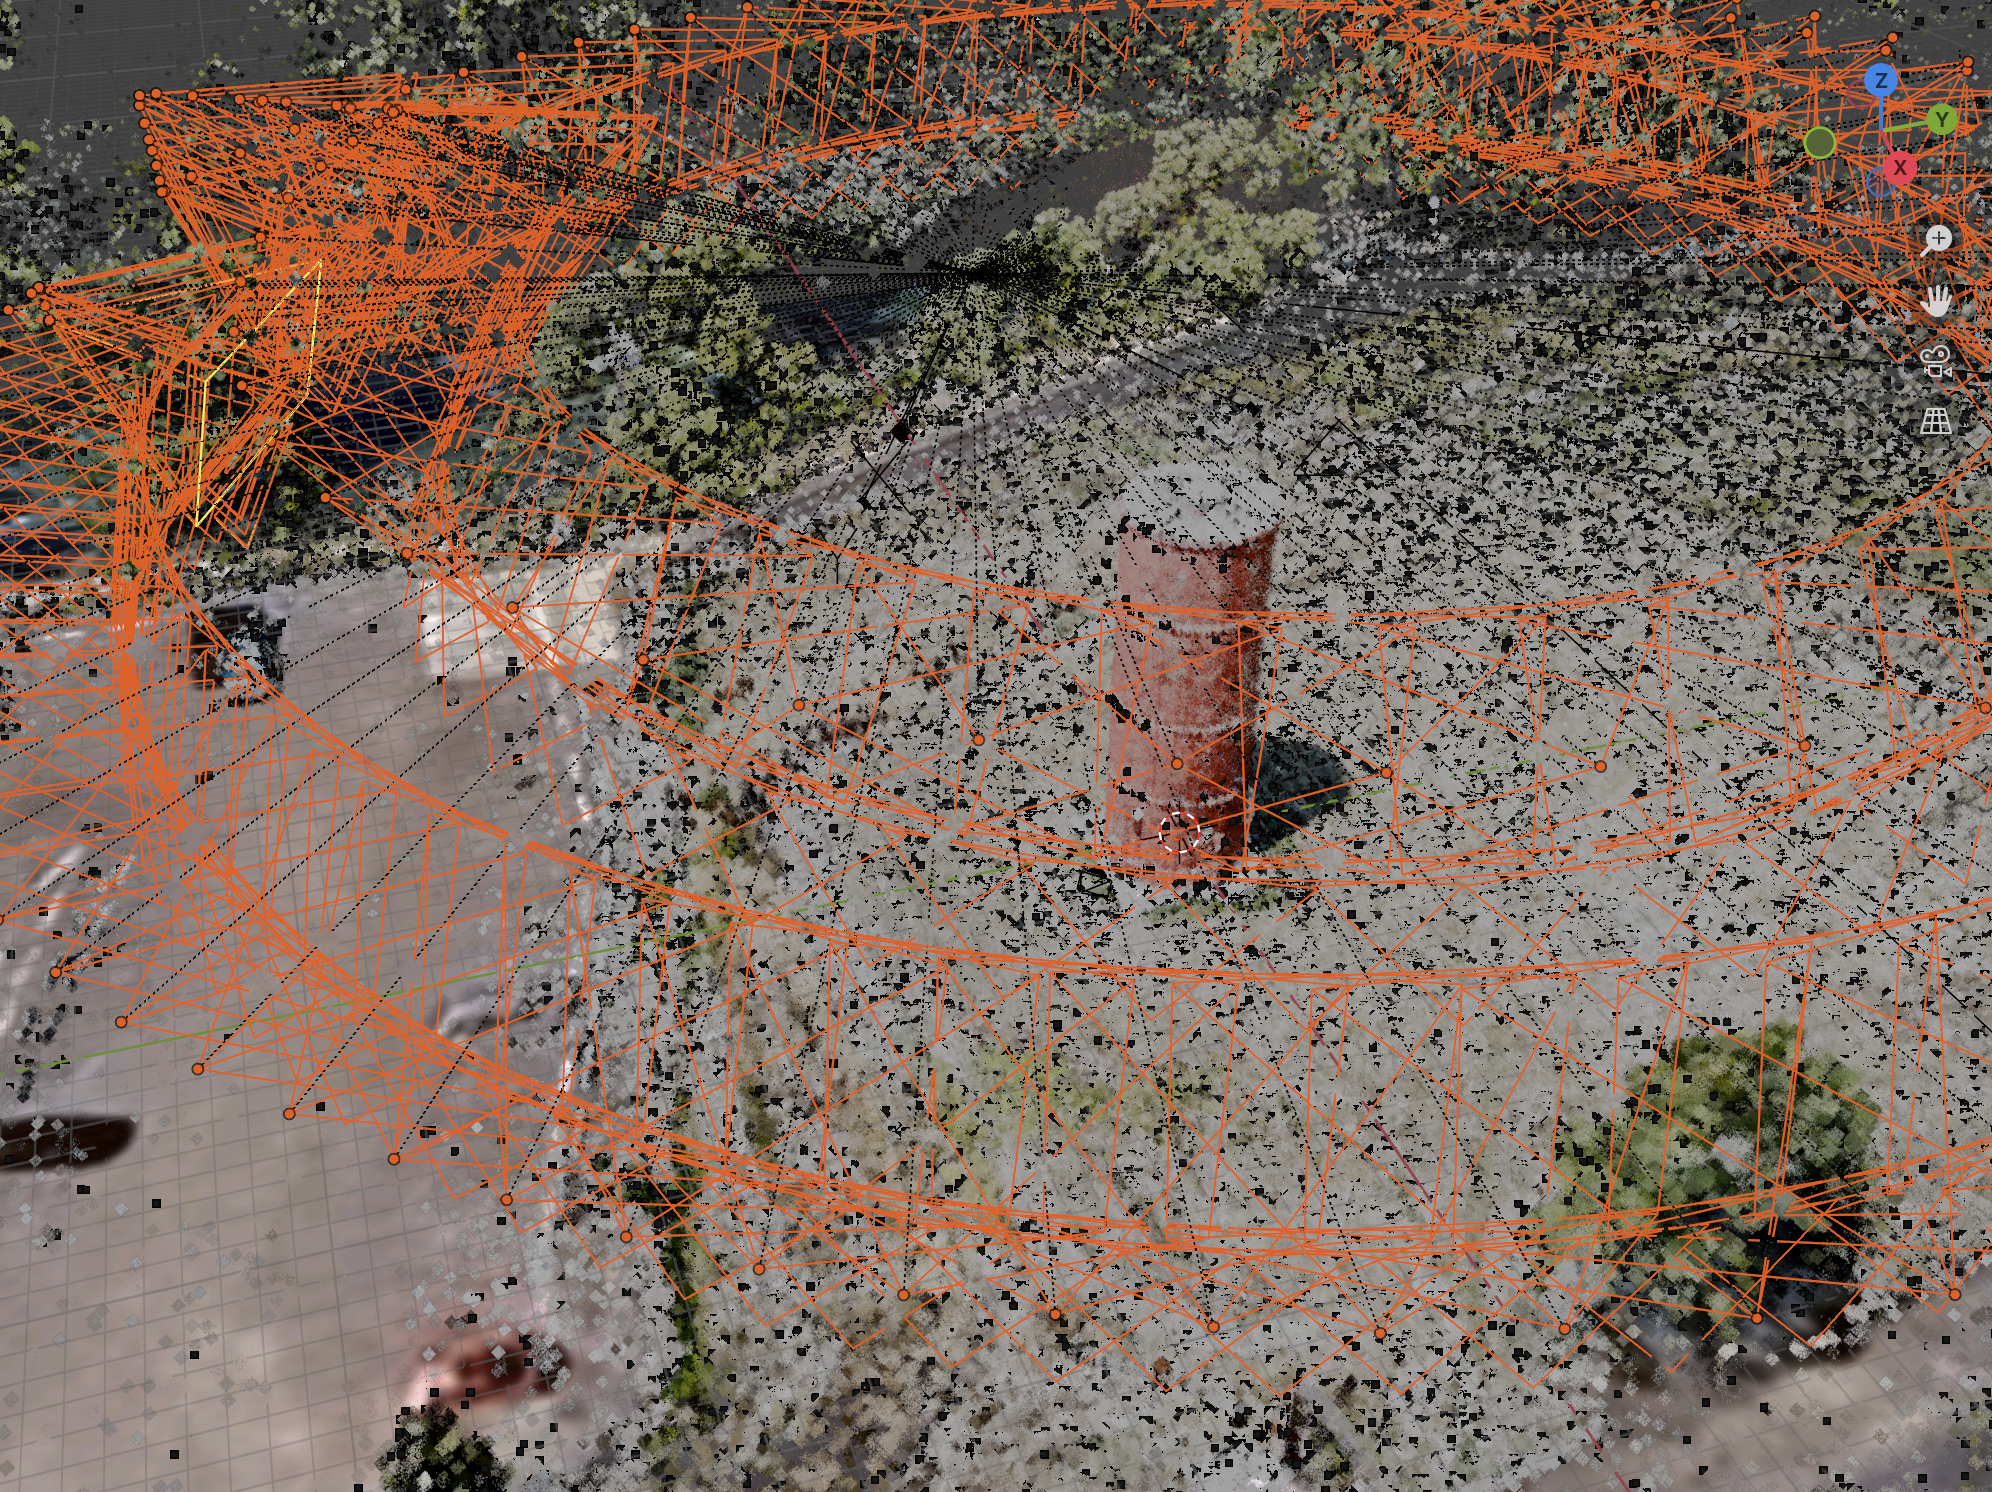
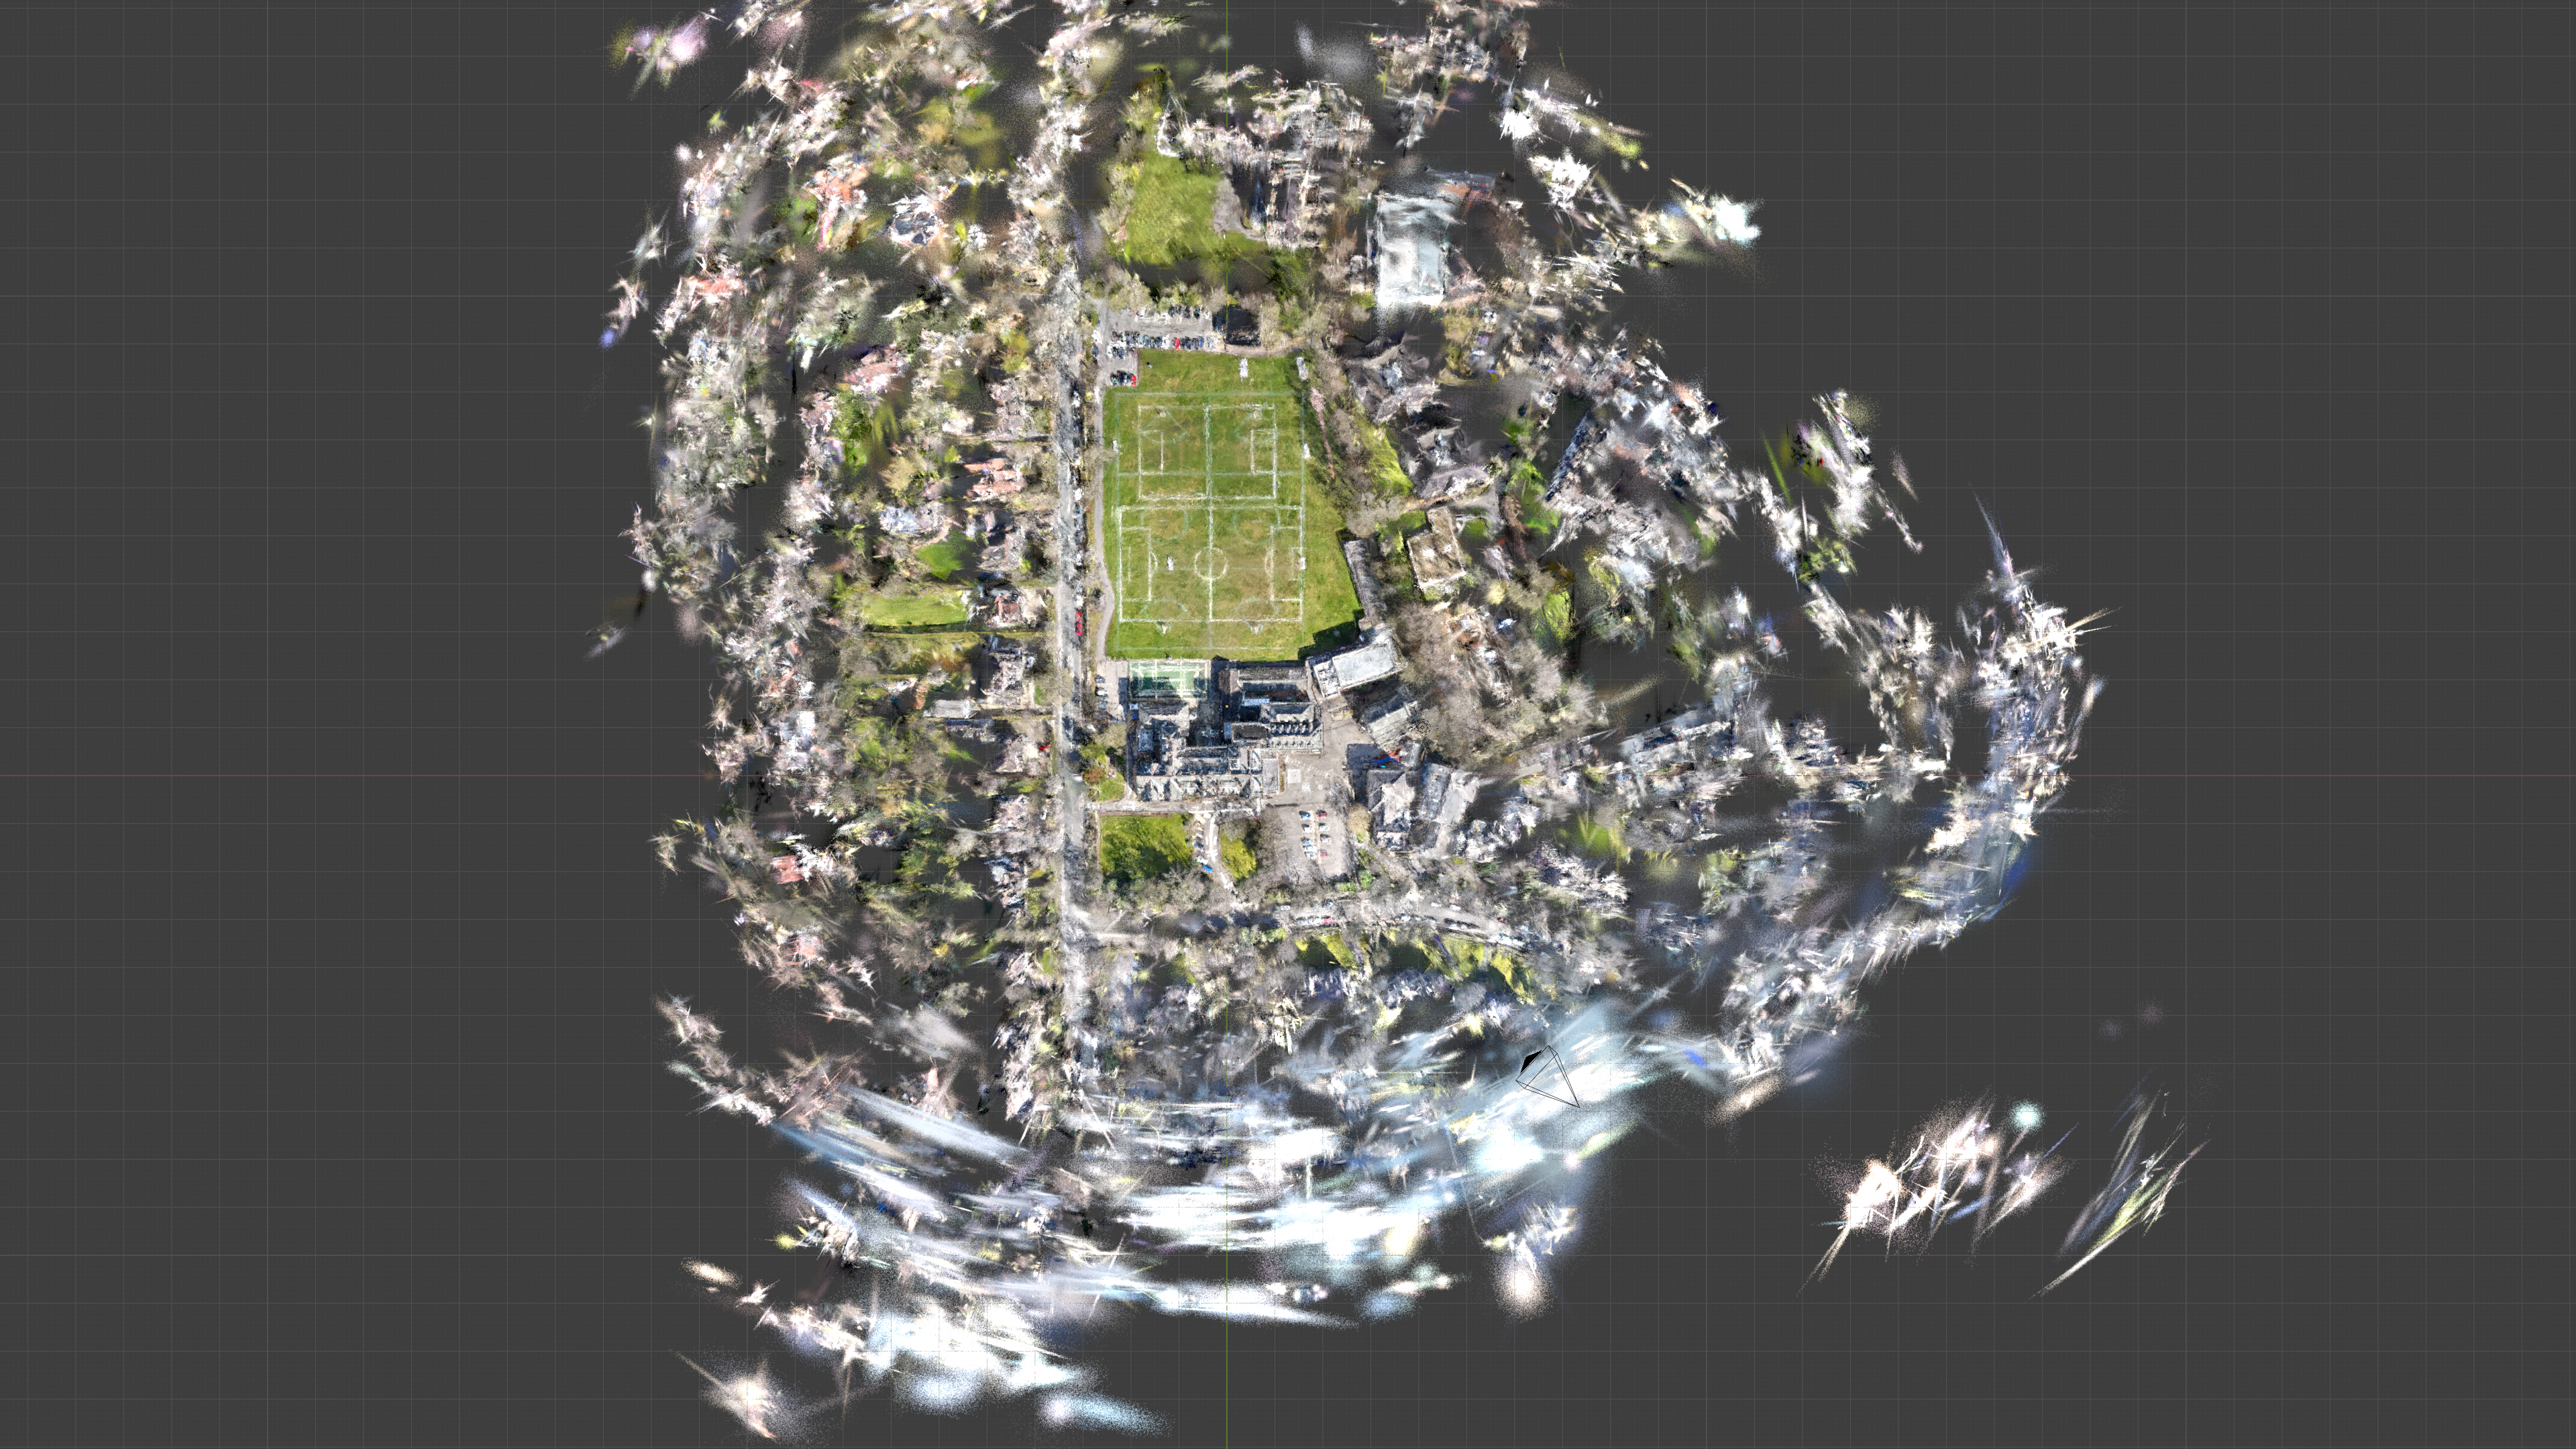
5. COLMAP Model Transformation
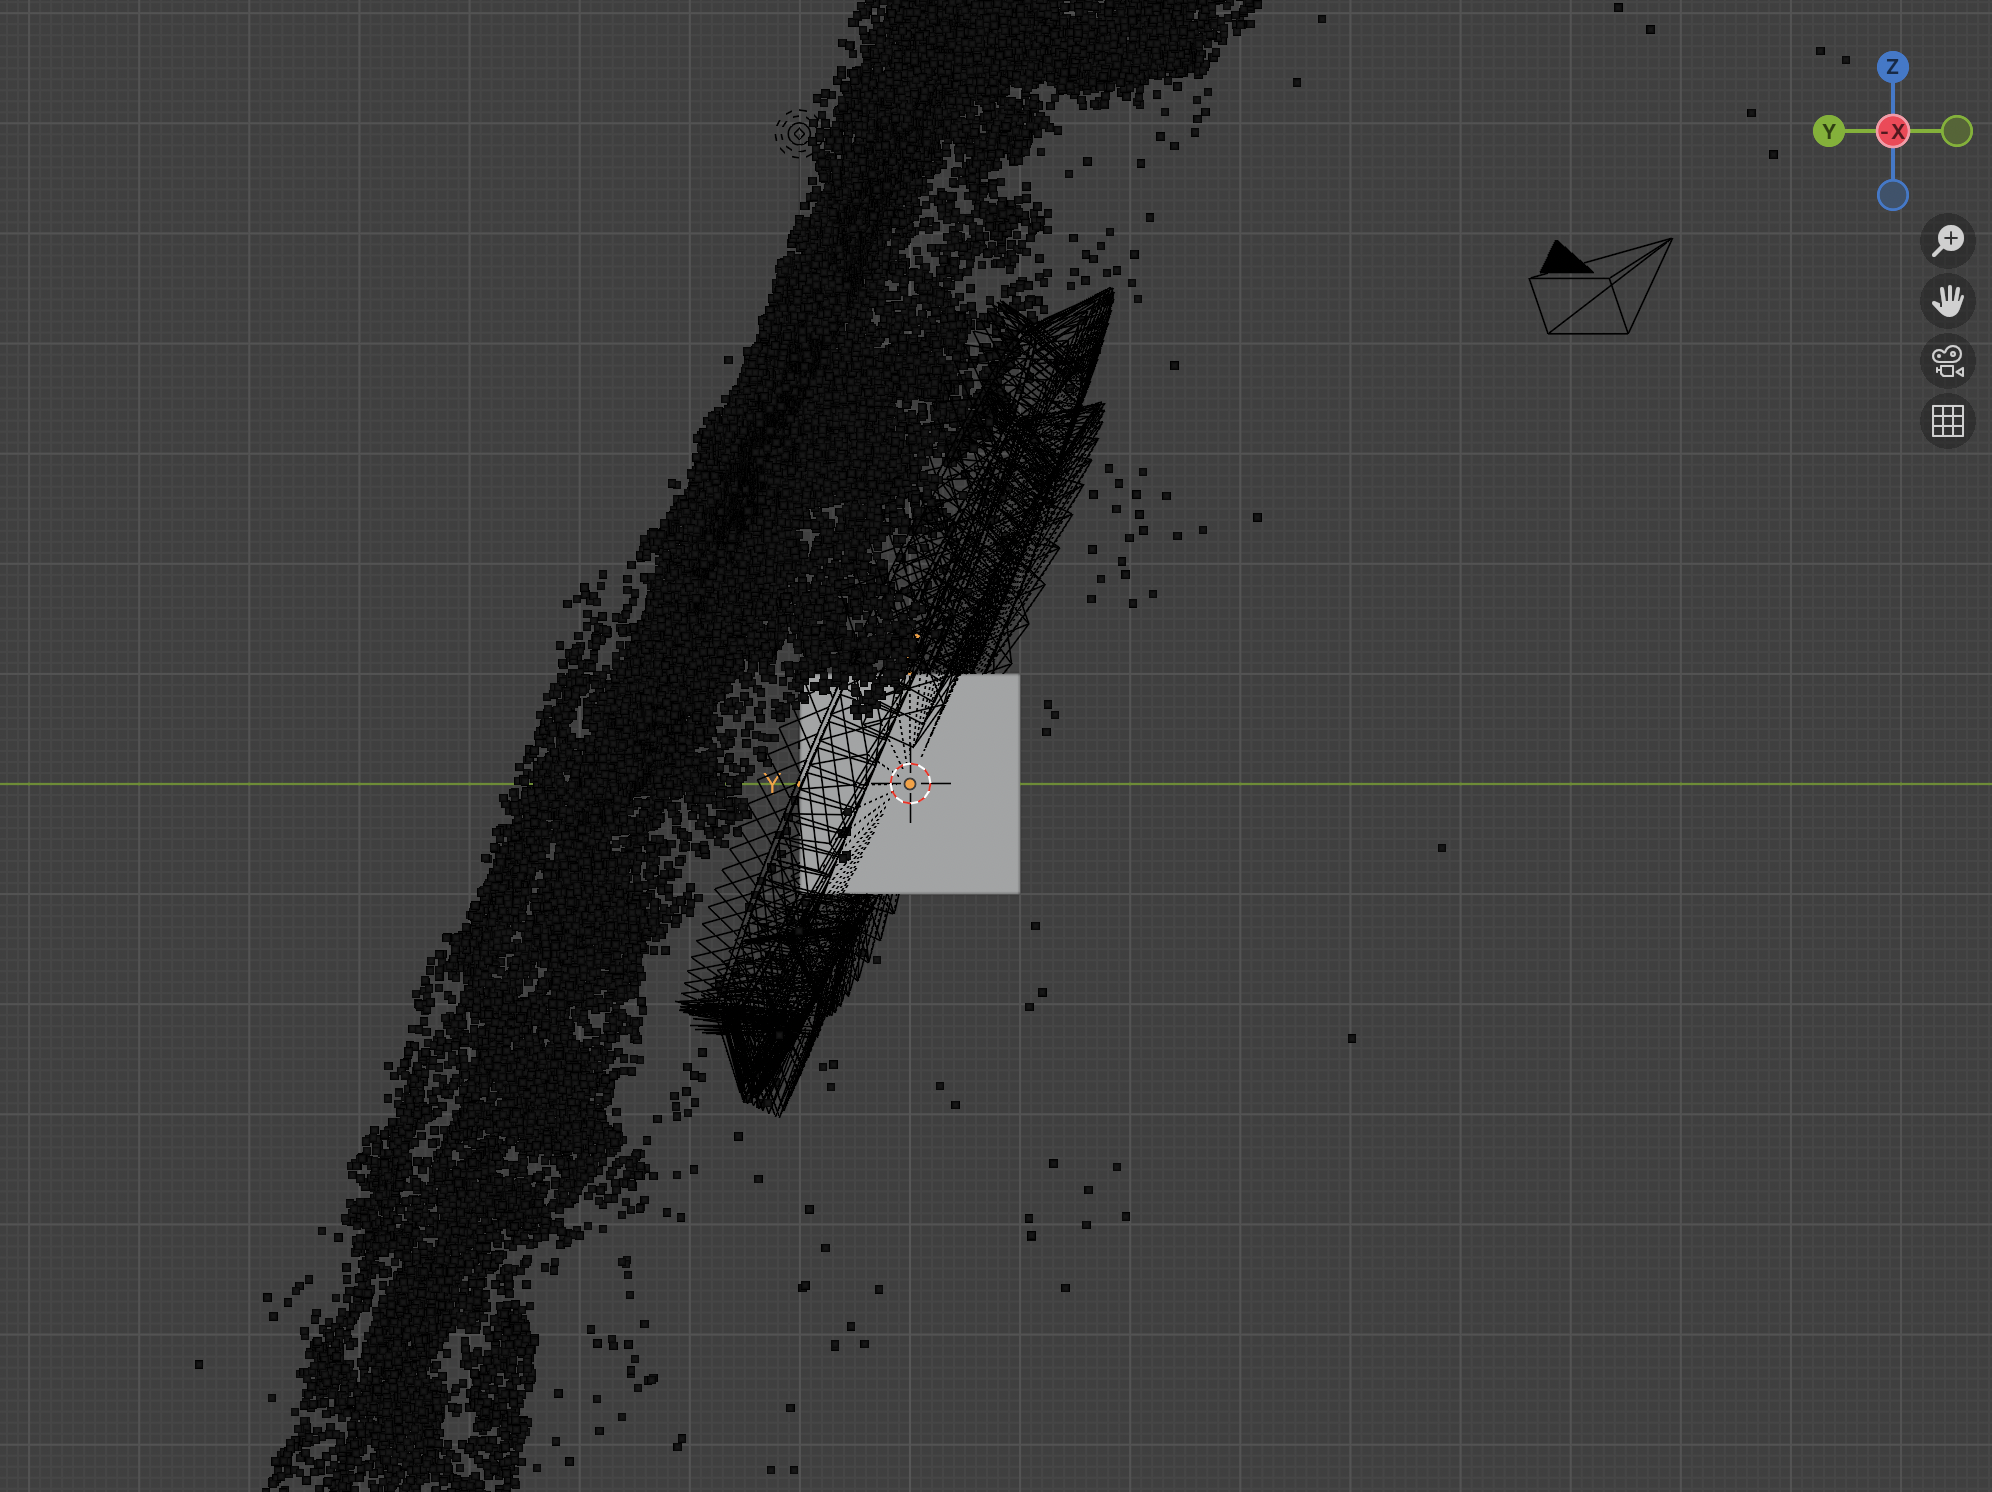
This step was the main reason I came up with this workflow. COLMAP will default the coordinate frame to the frame of the initial camera pose. This means that for many gaussian splatting drone videos, it is slightly tilted down and at the first camera origin, rather than being at a natural center of the scene. The colmap transformation panel lets you load the COLMAP output model, scale, rotate, and translate the parent object in blender to a more natural scale, position, and orientation, and then export the model before gaussian splatting training.
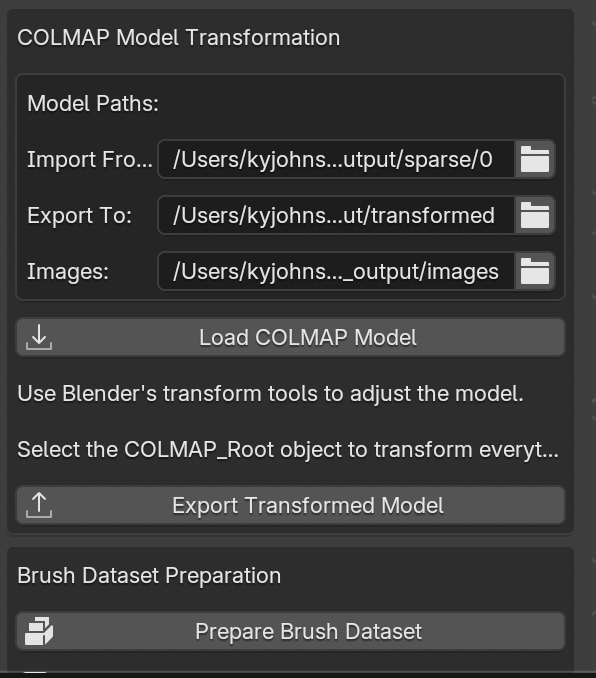
Loading the COLMAP Model
- Click “Load COLMAP Model” after running COLMAP and it will load the output COLMAP model into blender. You can also go straight to this step in Blender if you already processed your images outside of SkySplat.
- If the loaded COLMAP model looks sparse with few points or few cameras, try running frame extraction again with a smaller step size.
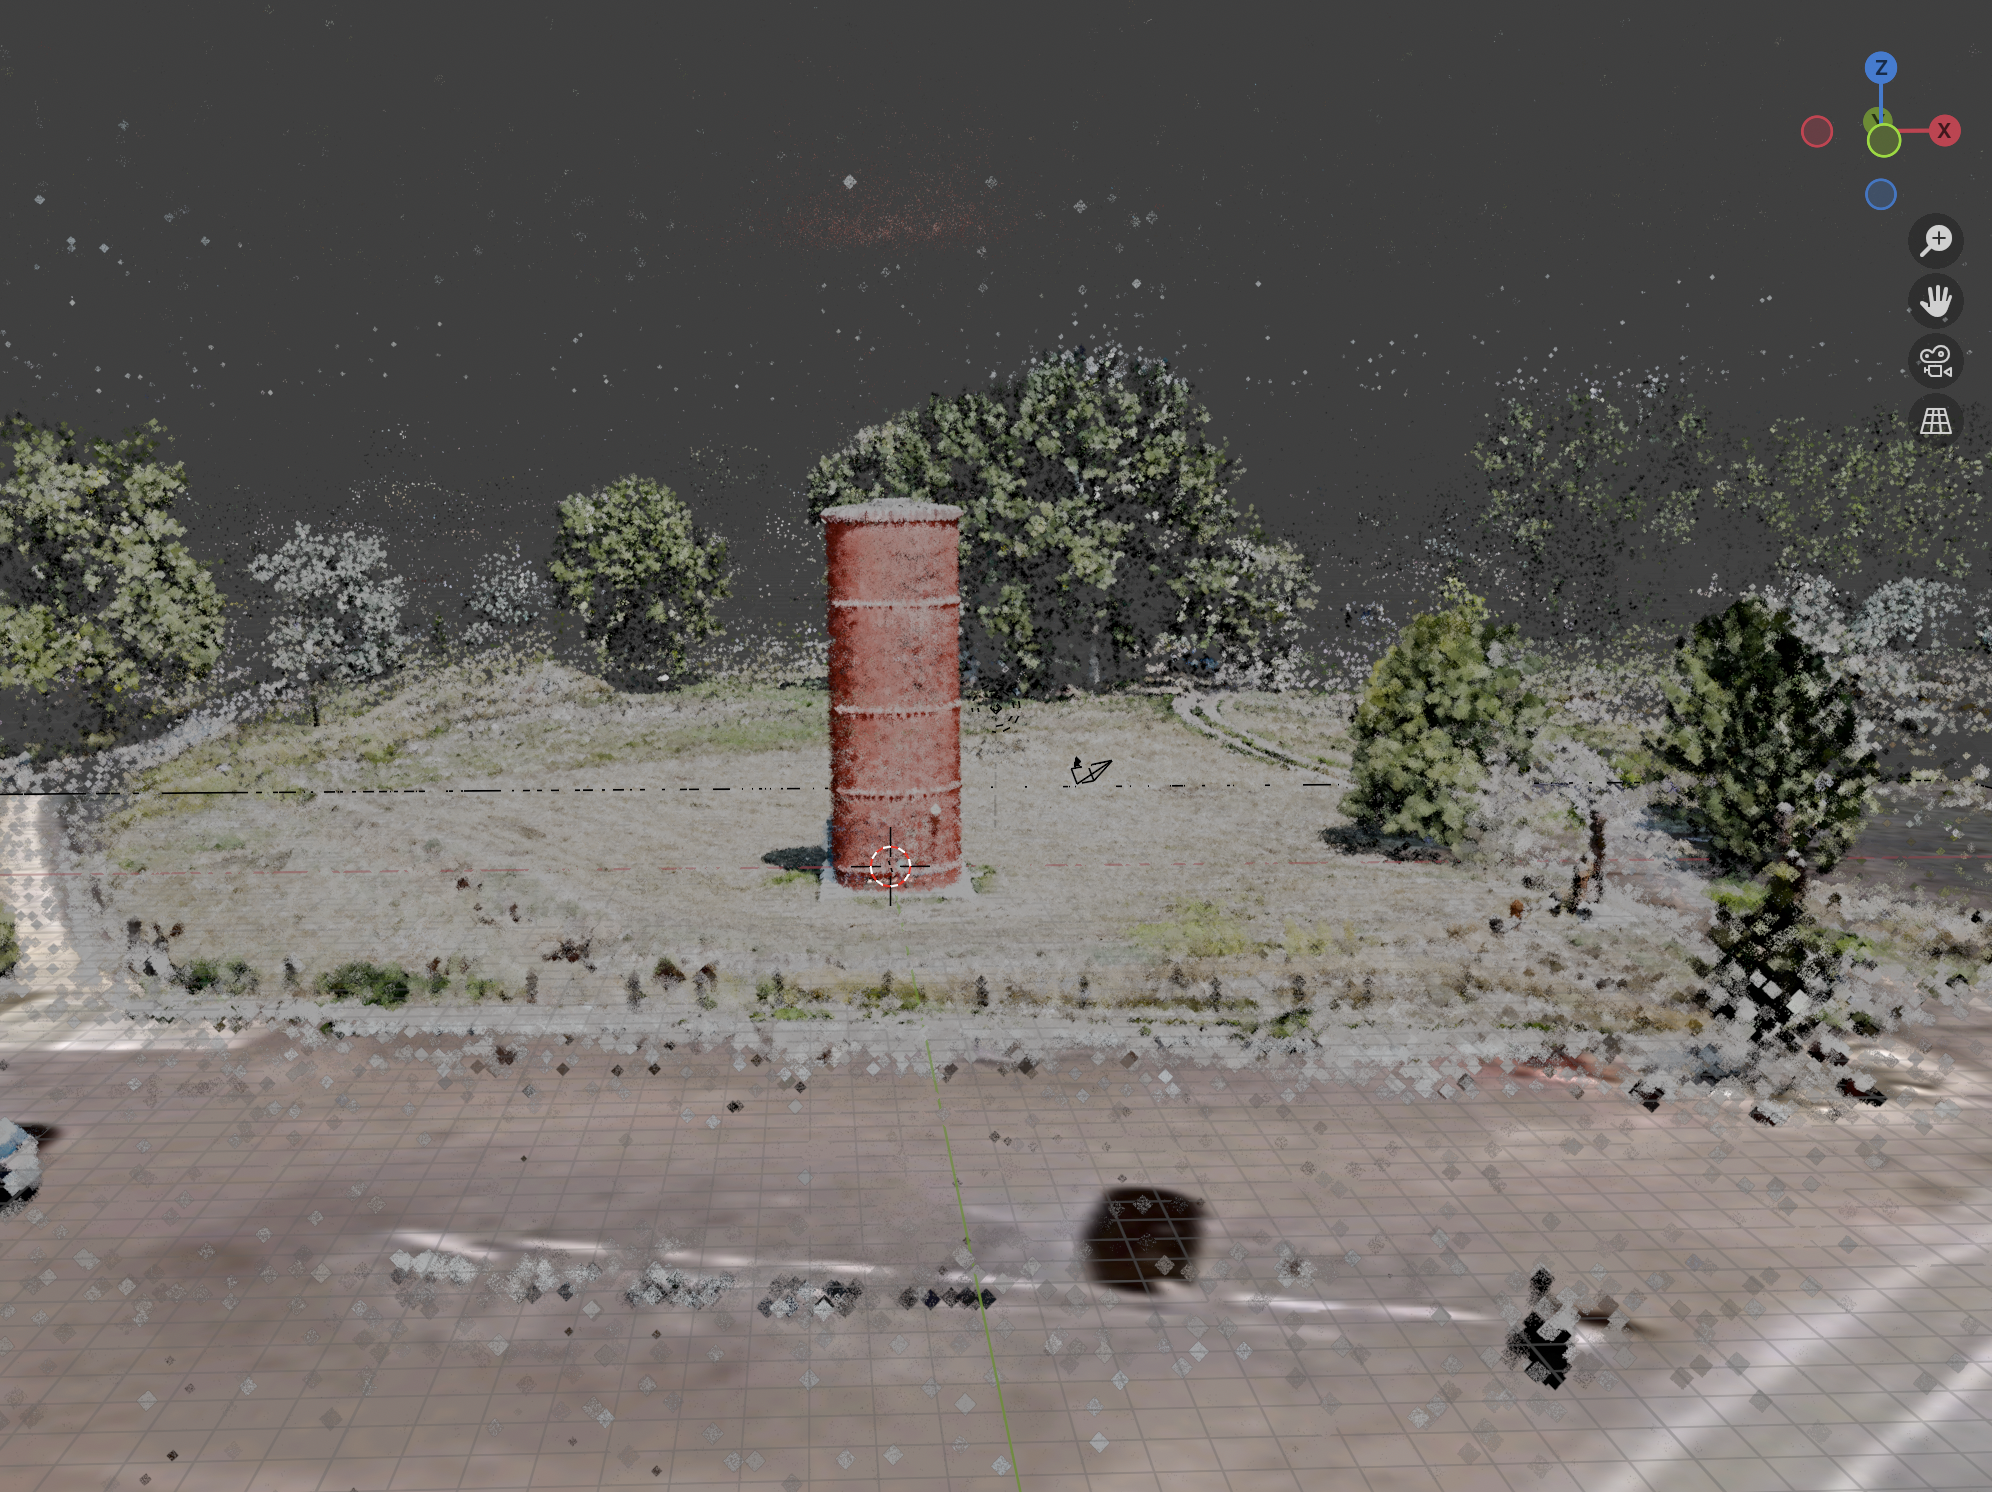
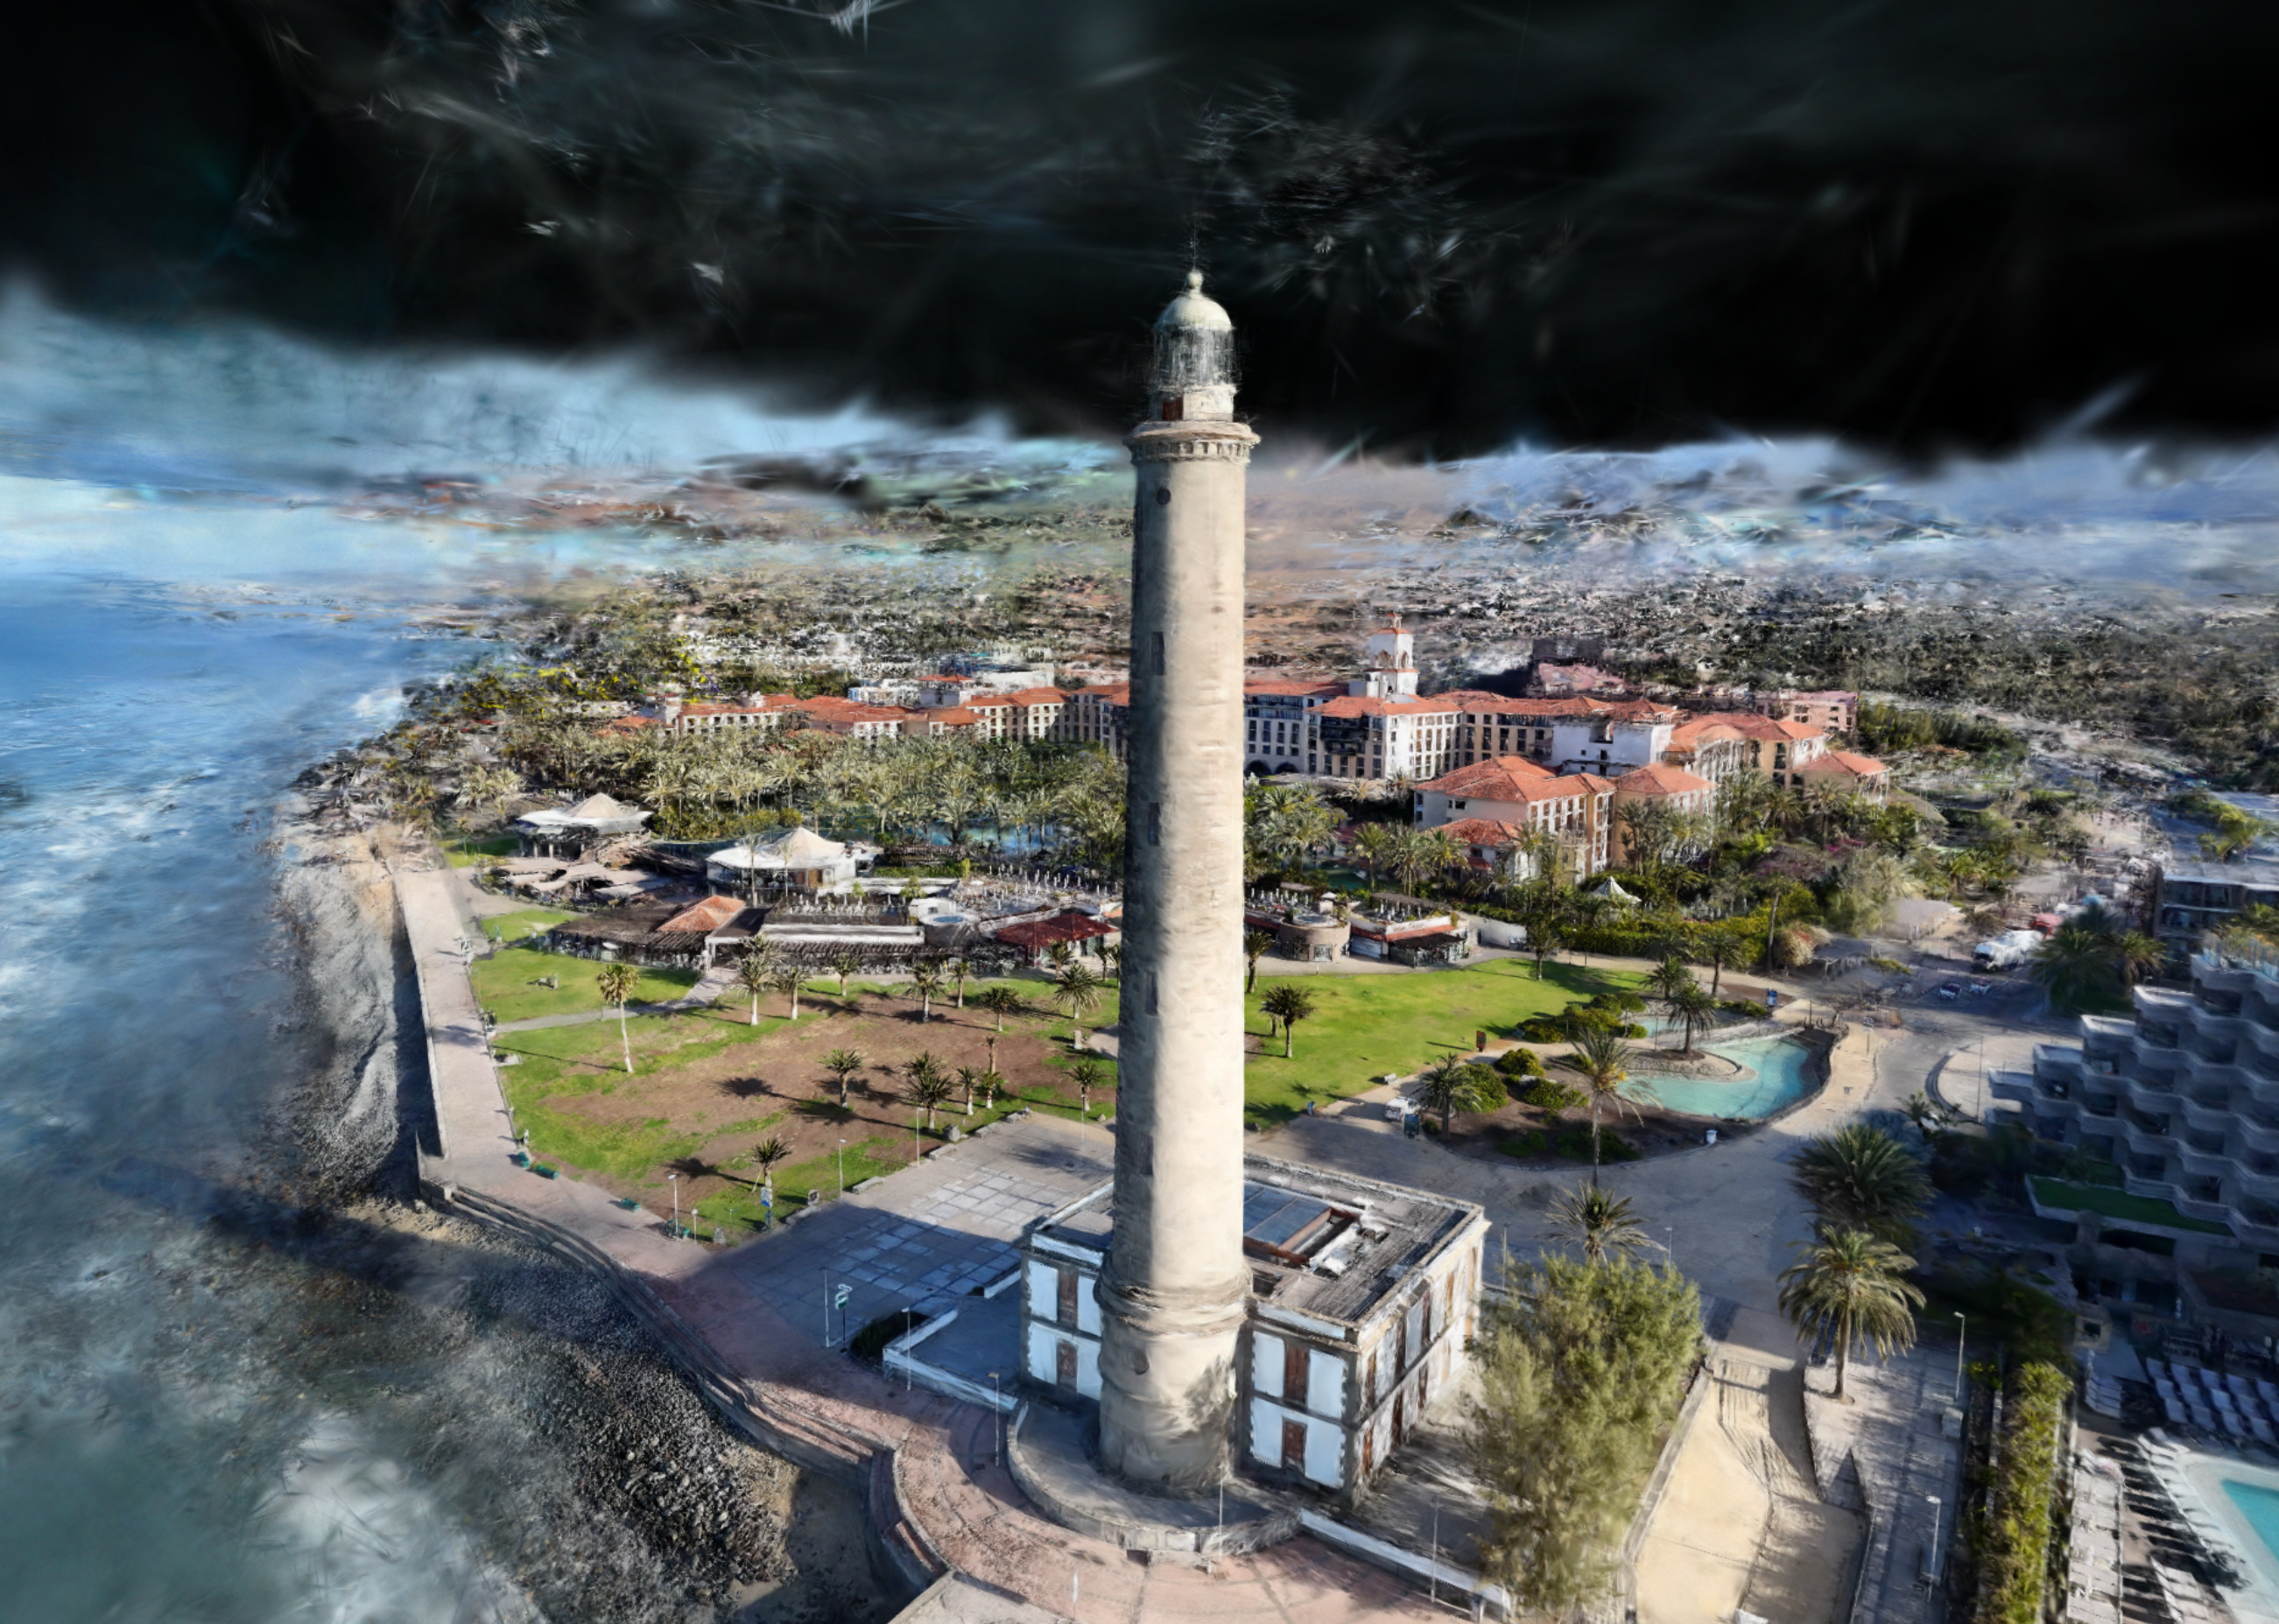
Transforming the Model
- To transform this model, make sure you transform the parent “COLMAP_Root” empty object, not individual cameras or points.
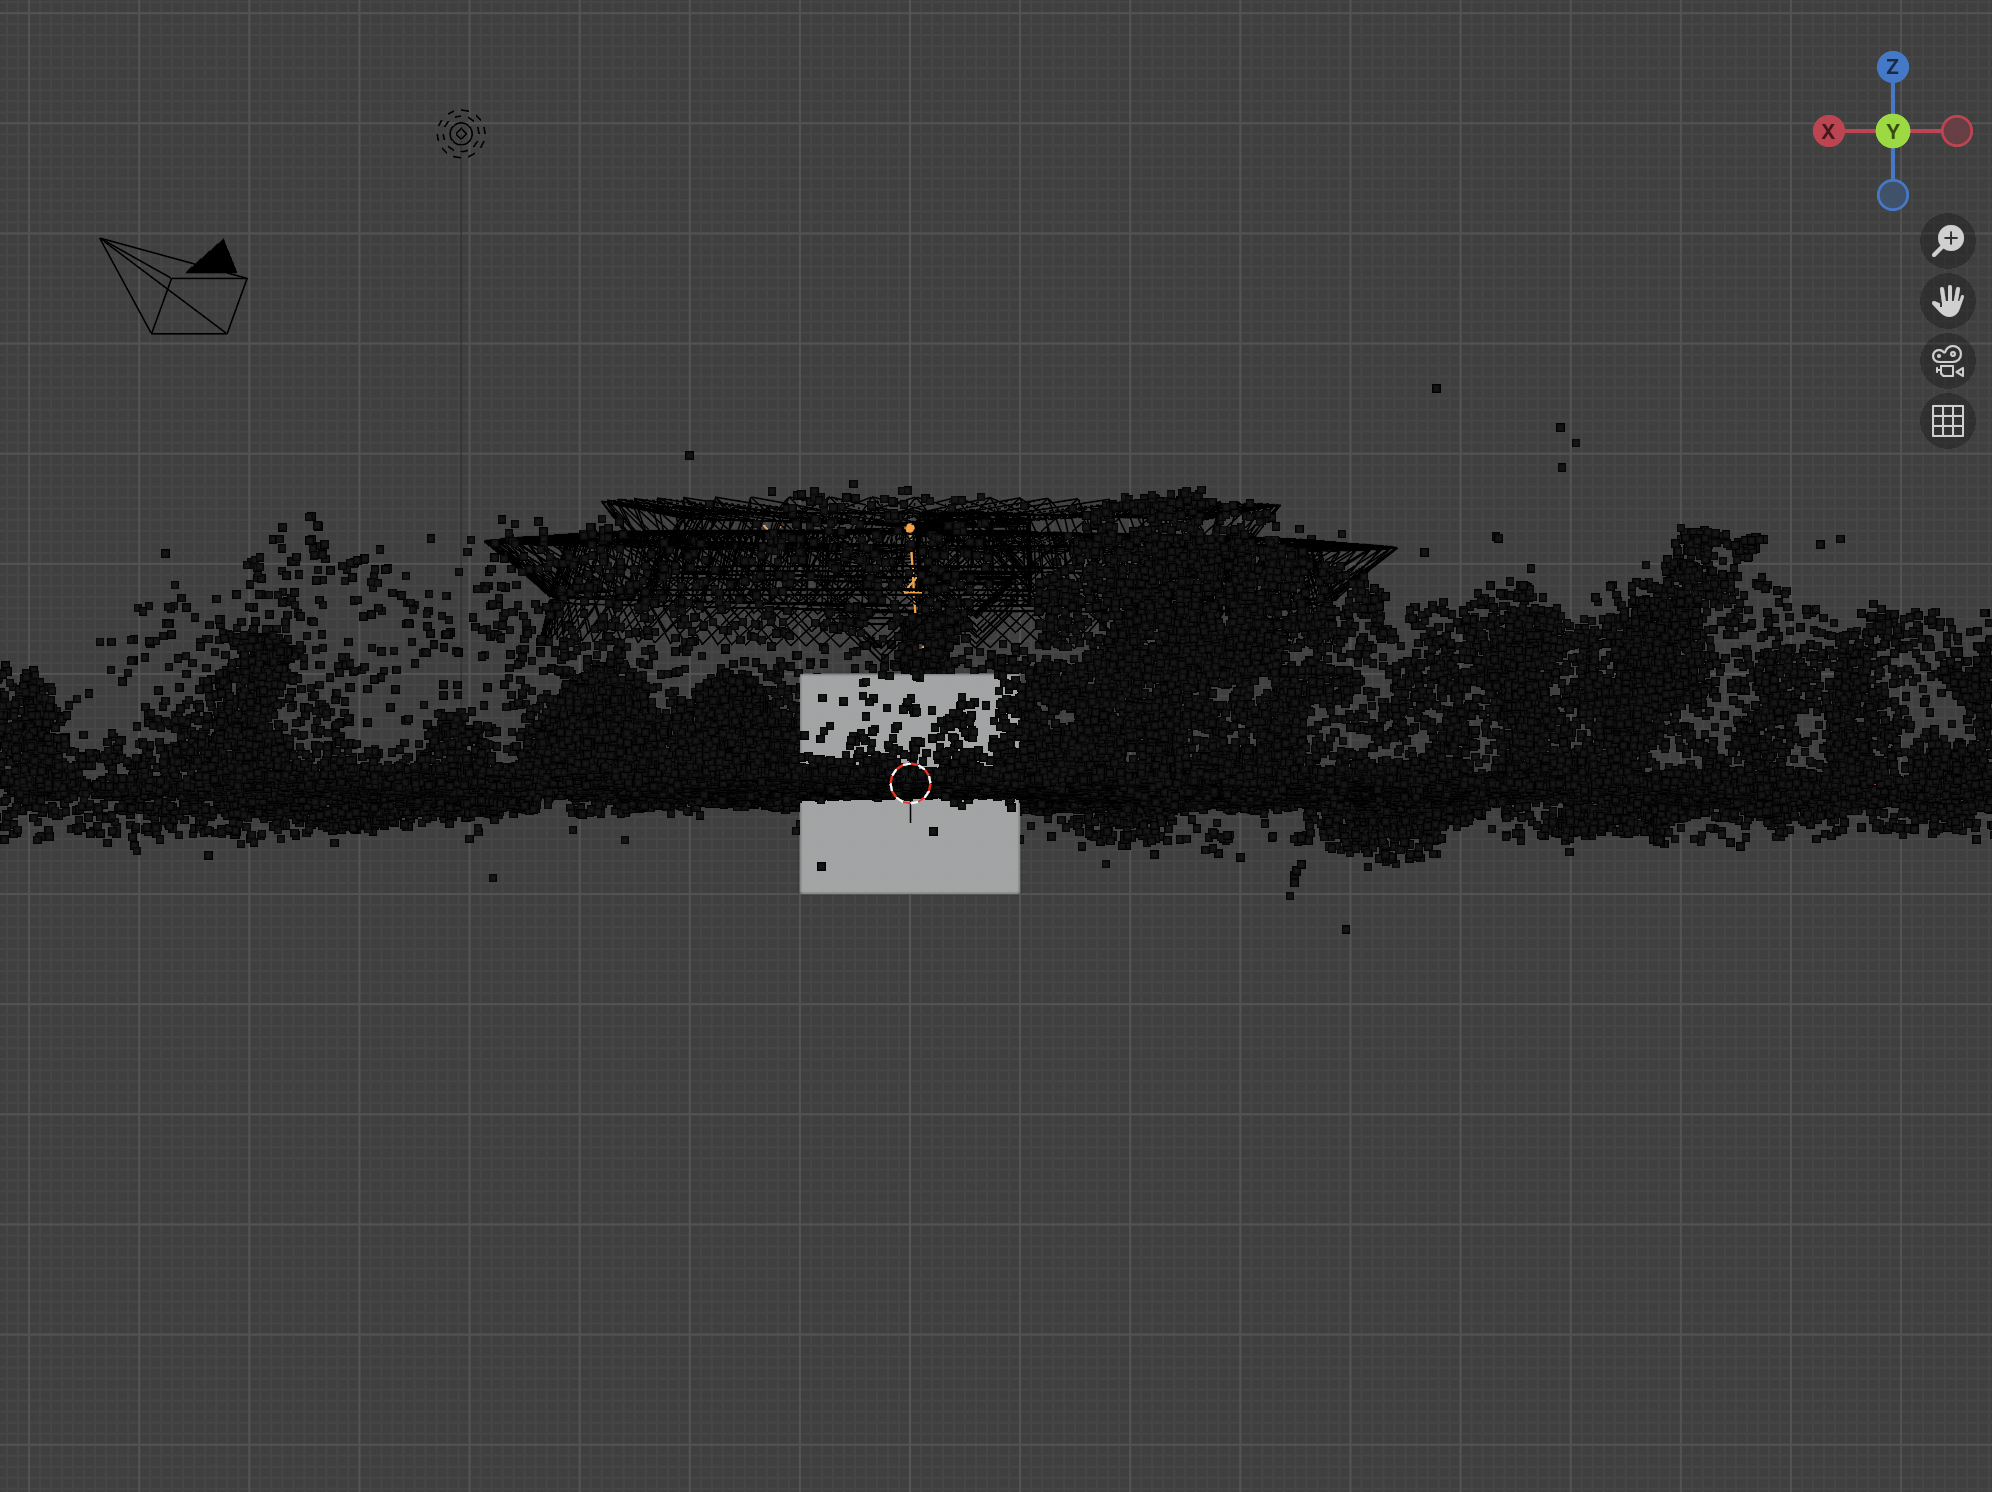
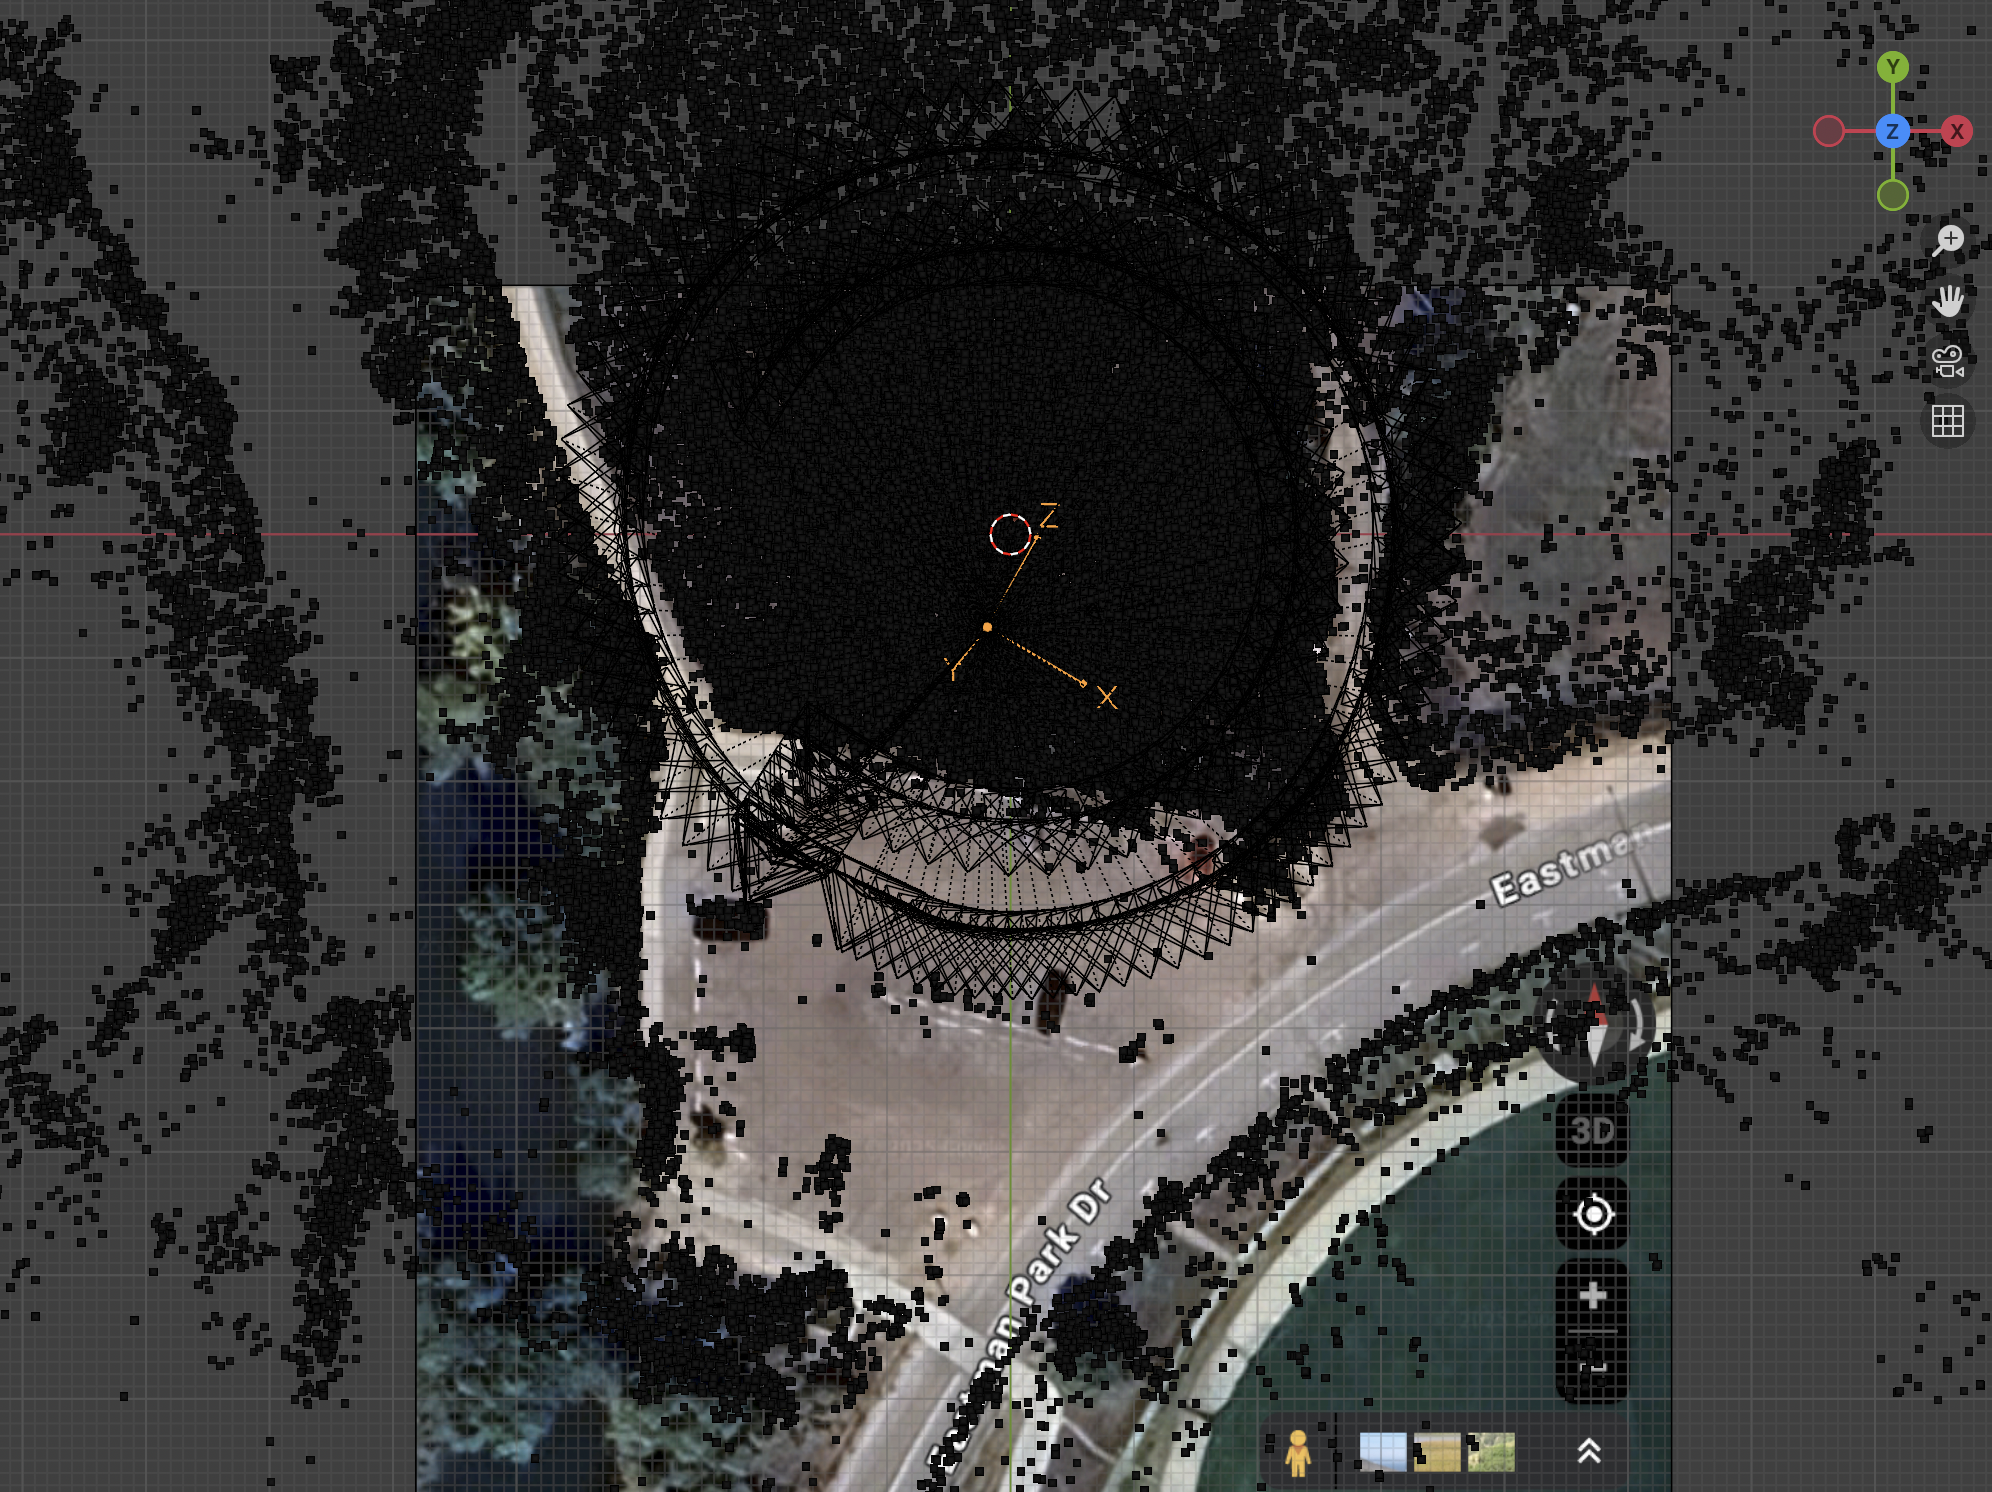
- For the example silo video, I rotated it so the natural ground was in the X-Y plane, and the origin was at the base of the silo. You can also use a google maps or OSM image with a scale so that you can right size the COLMAP and hence 3DGS models. I have included a screen shot of a map from this silo video at silo reference map

This is one of the highlights of working with COLMAP and 3DGS in Blender, the ability to include other 3D assets, models, and features in a cohesive 3d environment.
Now I can export the model scaled and rotated into a more natural coordinate system, and the 3DGS code will start with these parameters when it fits the gaussians.
Exporting the Transformed Model
-
Click “Export COLMAP Model” after you have finished transforming and adjusting your model, this will export a new model in the
<colmap output directory>/transformed/directory. -
Click “Prepare Brush Dataset” to prepare a dataset for training with the Gaussian Splatting Brush. This will arrange your COLMAP model and images into a directory that brush can import.
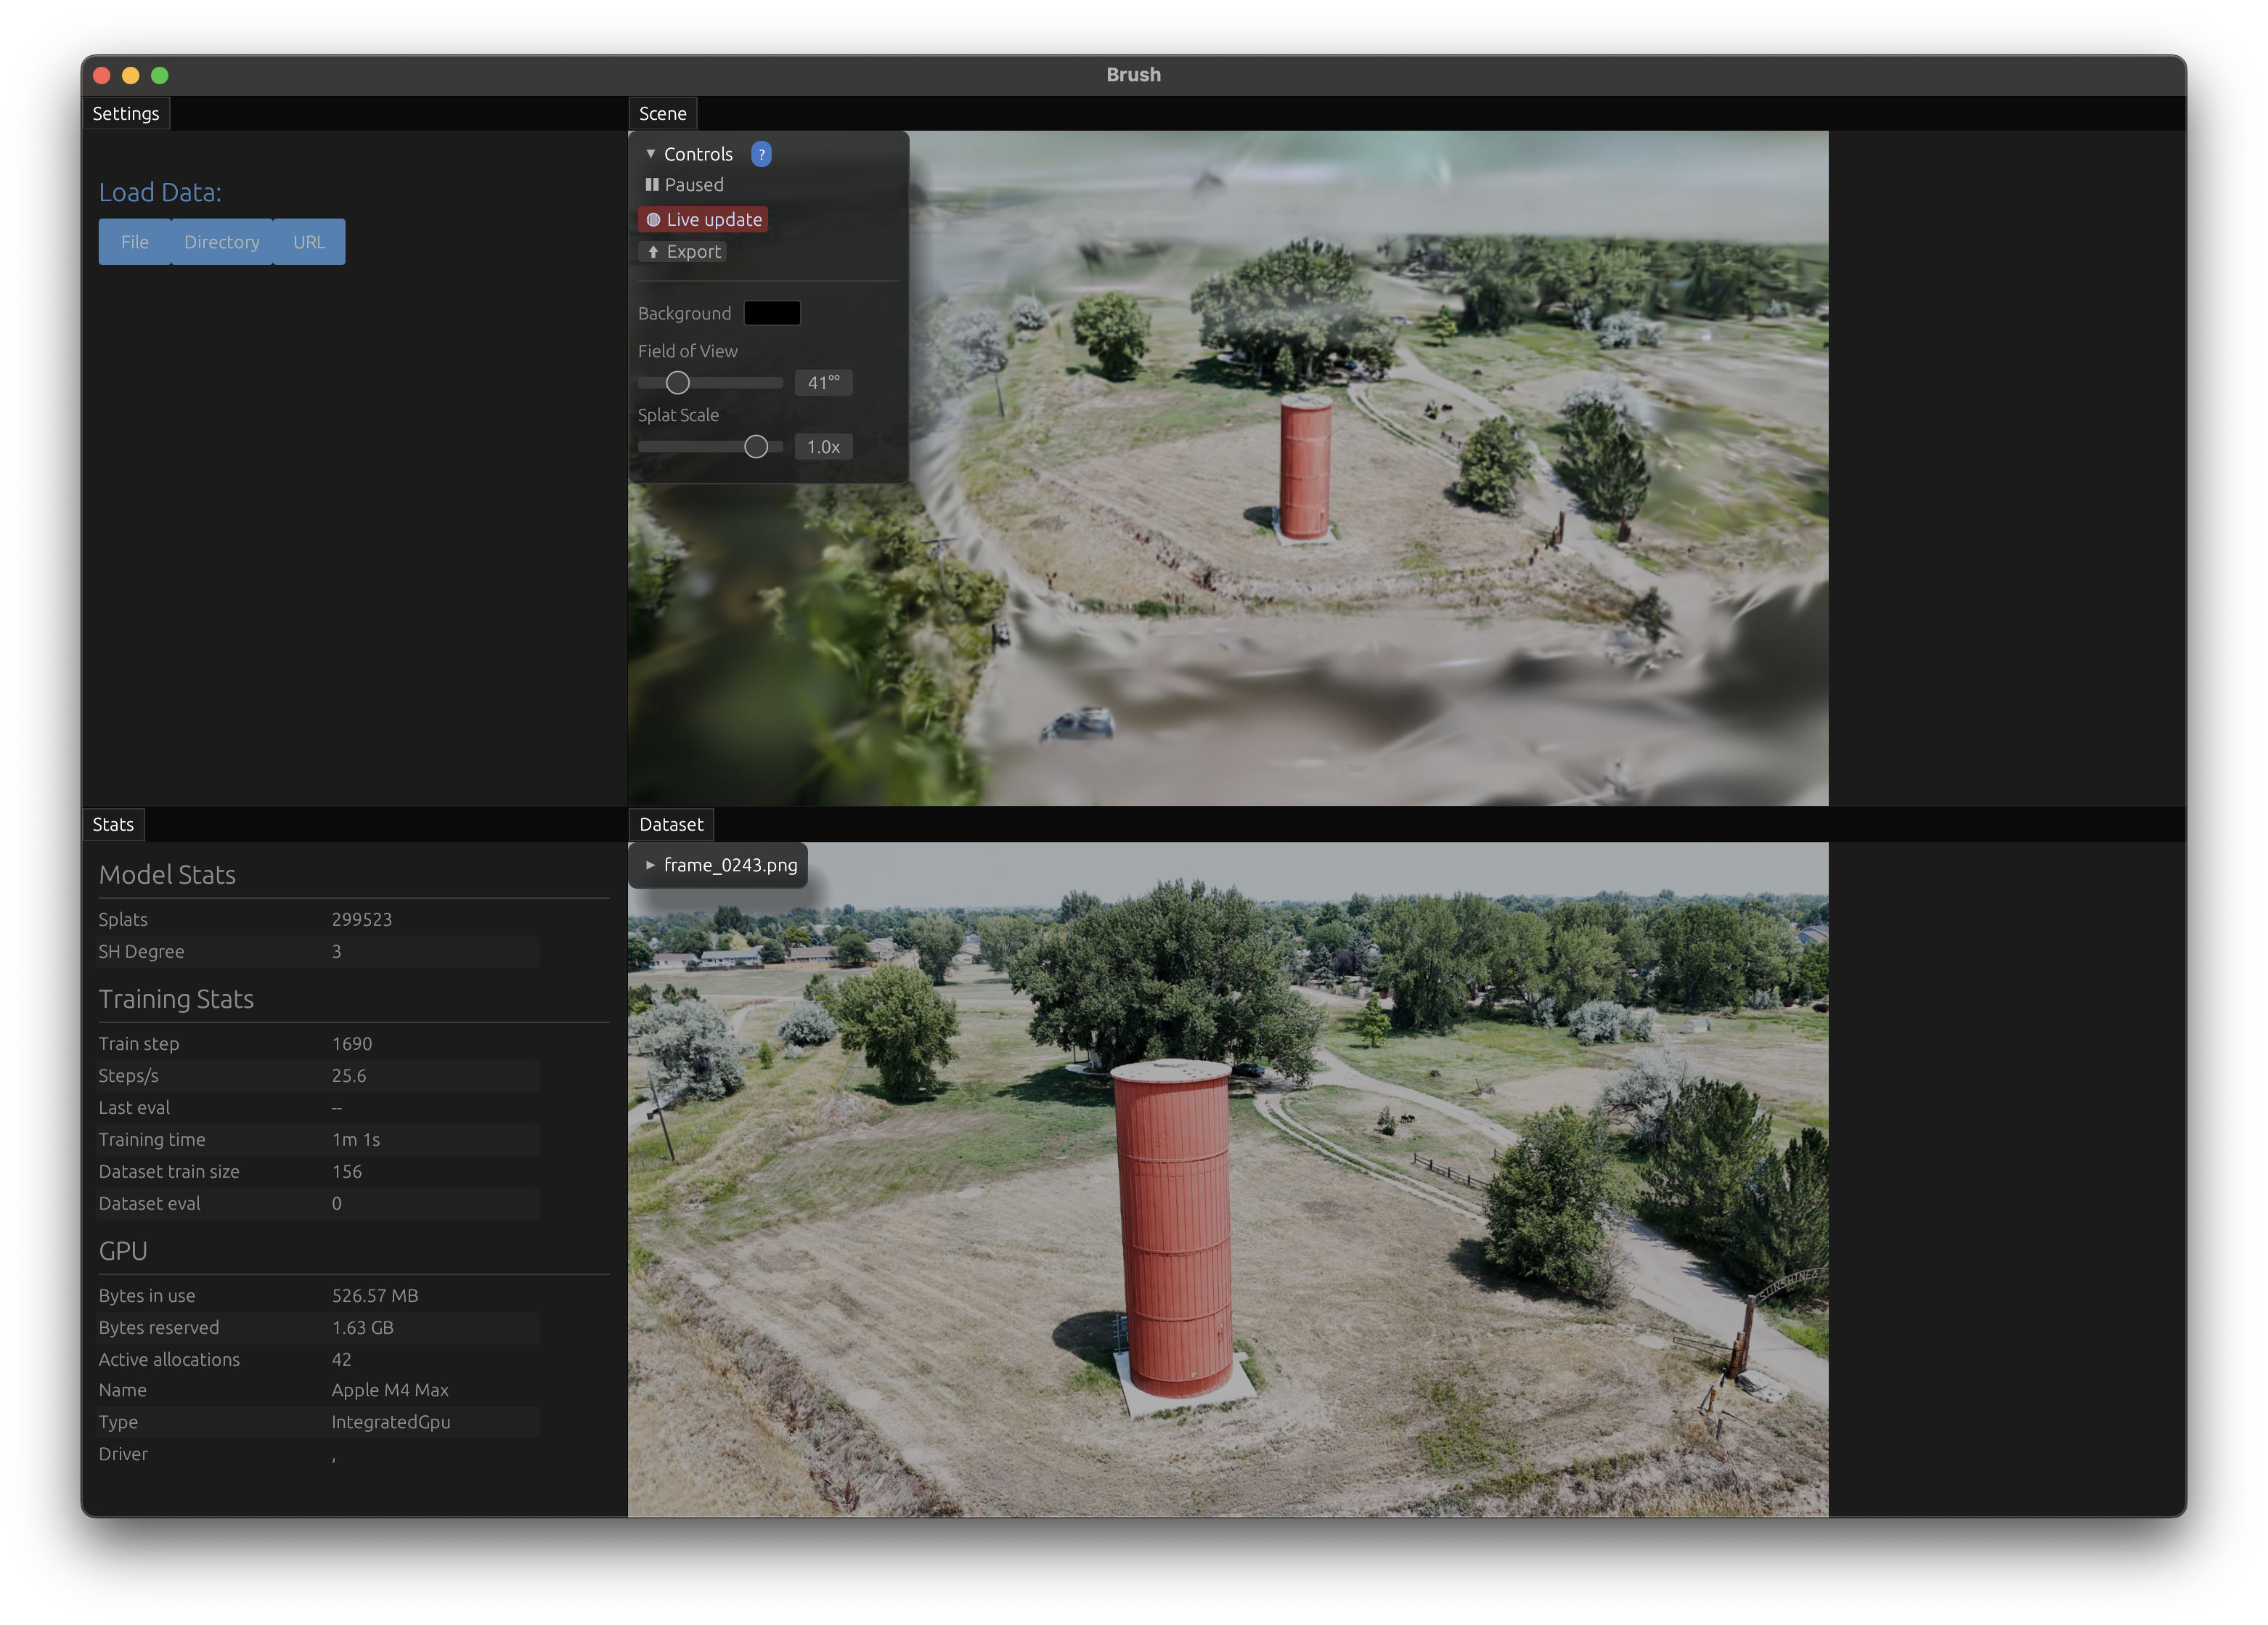
6. Brush Training (3D Gaussian Splatting)
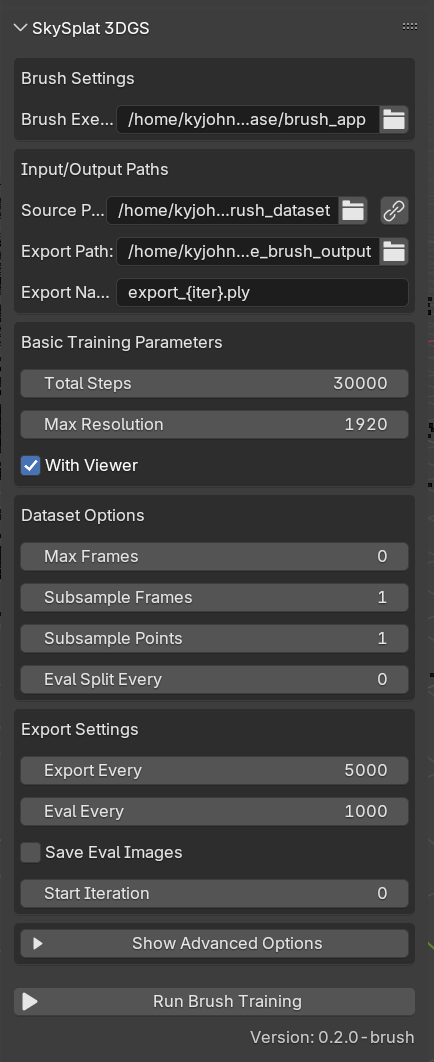
- Configure Brush settings in the SkySplat 3DGS panel (as shown in the image above)
- The Brush Executable path will auto-populate with the bundled binary for your platform (Windows, macOS, or Linux)
- Use the chain link icon next to the Source Path to automatically sync with your COLMAP output
- The Source Path should point to your transformed COLMAP model or prepared brush dataset
- Set your Export Path where the trained .ply files will be saved
- Configure training parameters:
- Total Steps: Number of training iterations (default: 30000)
- Max Resolution: Maximum image resolution for training (default: 1920)
- With Viewer: Enable this to pop up the interactive viewer application that shows real-time training progress
- If you want to watch the brush app training live you can click the “viewer” button. This will run brush with the UI and show the 3DGS model as it is trained.
- Advanced options are available by expanding the “Show Advanced Options” section for fine-tuning learning rates, refinement parameters, and dataset options
- Click “Run Brush Training” to start the process
- Unlike the original Gaussian Splatting implementation, Brush runs as a subprocess so it won’t block the Blender UI
- Monitor progress in the Blender console, or if you enabled “With Viewer”, watch the training progress in the dedicated viewer window
- The training process will automatically export .ply files at specified intervals to your Export Path
7. Loading the 3D Gaussian Splat
There is already a rich Blender addon ecosystem for loading 3D gaussian splats into Blender. I recommend KIRI Innovation’s 3DGS Render Addon and you can see it in my Blender screen shots above if you look closely. I recommend loading the ply file without transforming from COLMAP to Blender coordinates mainly because we already did a transformation and scaling in the previous step. If everything worked you will now have your transformed COLMAP model, any helper “reference silos” you created in blender, and the 3D Gaussian Splat ready to create whatever awesome render or animation you are working on.
Tips and Best Practices
Frame Extraction
- Start with the default step size (auto-calculated to ~170 frames)
- If COLMAP results are sparse, reduce step size for more frames
- More frames = better reconstruction but longer processing time
COLMAP Processing
- Monitor the console output for detailed progress
- If reconstruction fails, check:
- Frame quality and overlap
- Lighting conditions
- Camera movement (avoid rapid movements)
Model Transformation
- Always transform the “COLMAP_Root” parent object
- Use reference images/maps for accurate scaling
- Align ground plane to X-Y for natural orientation
- Place origin at a meaningful location (e.g., base of main object)
Brush Training
- Start with default parameters (30000 steps)
- Enable “With Viewer” to monitor training progress
- Higher resolution = better quality but slower training
- Save intermediate results at regular intervals
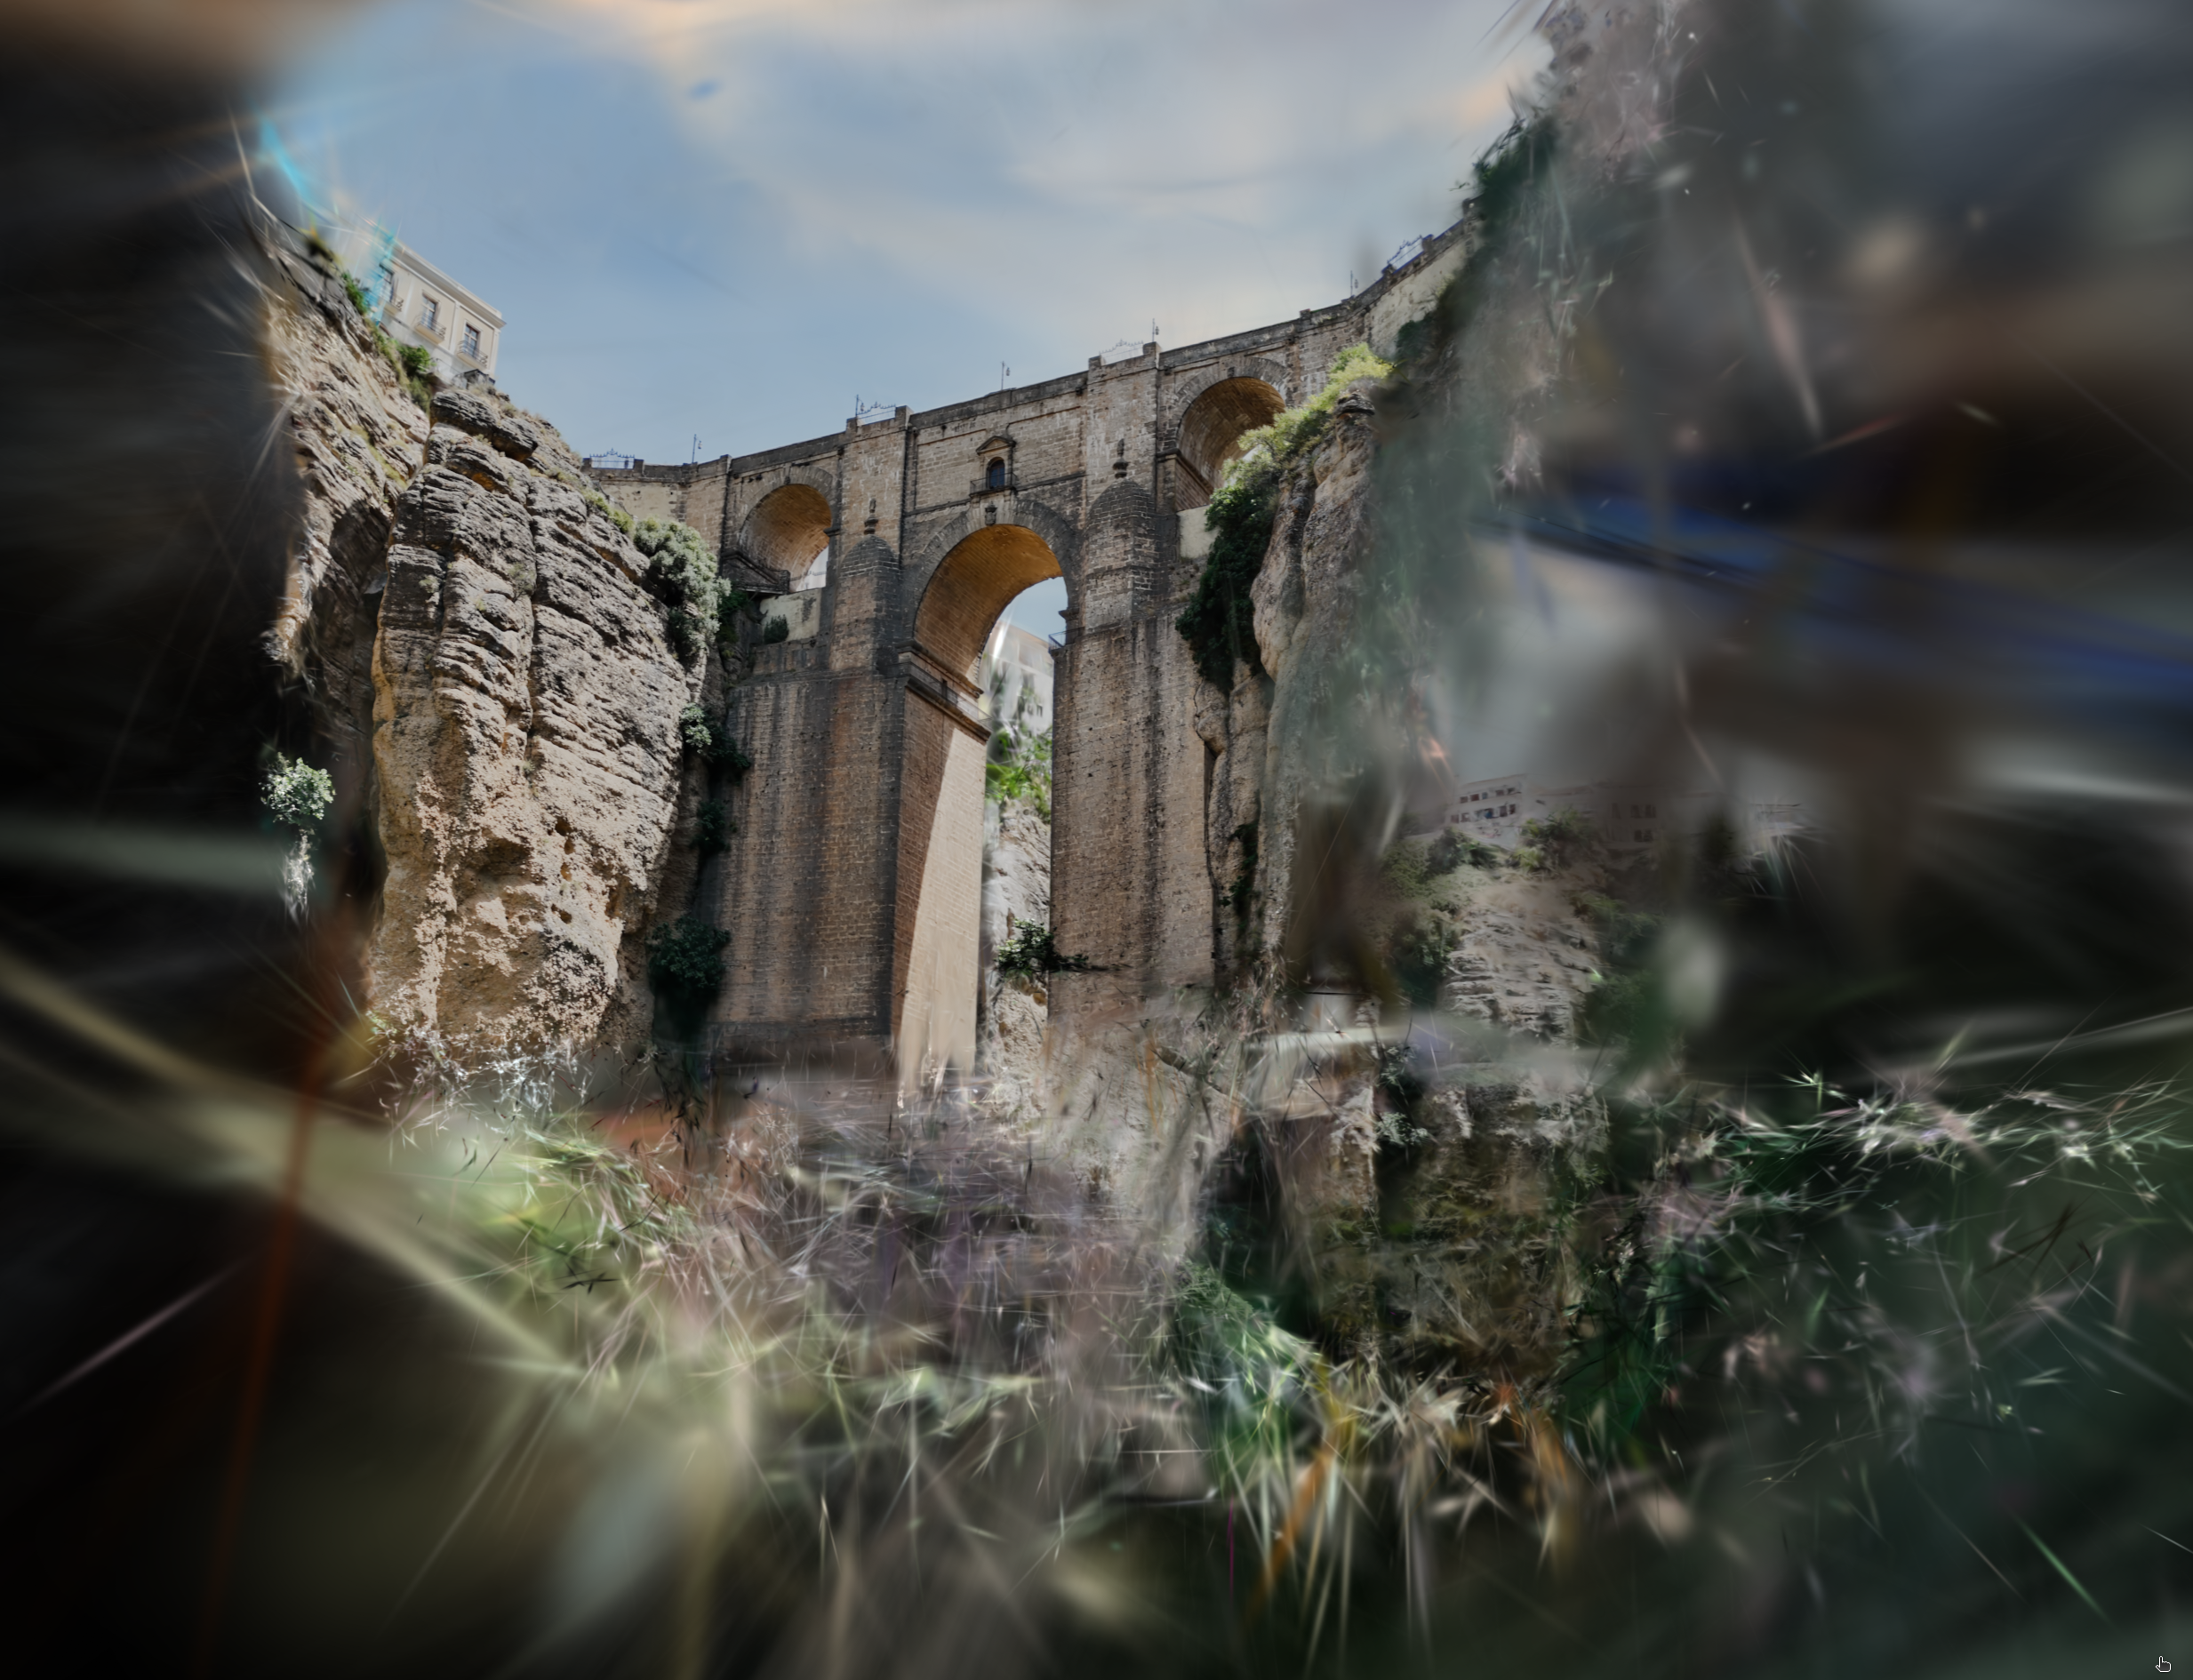
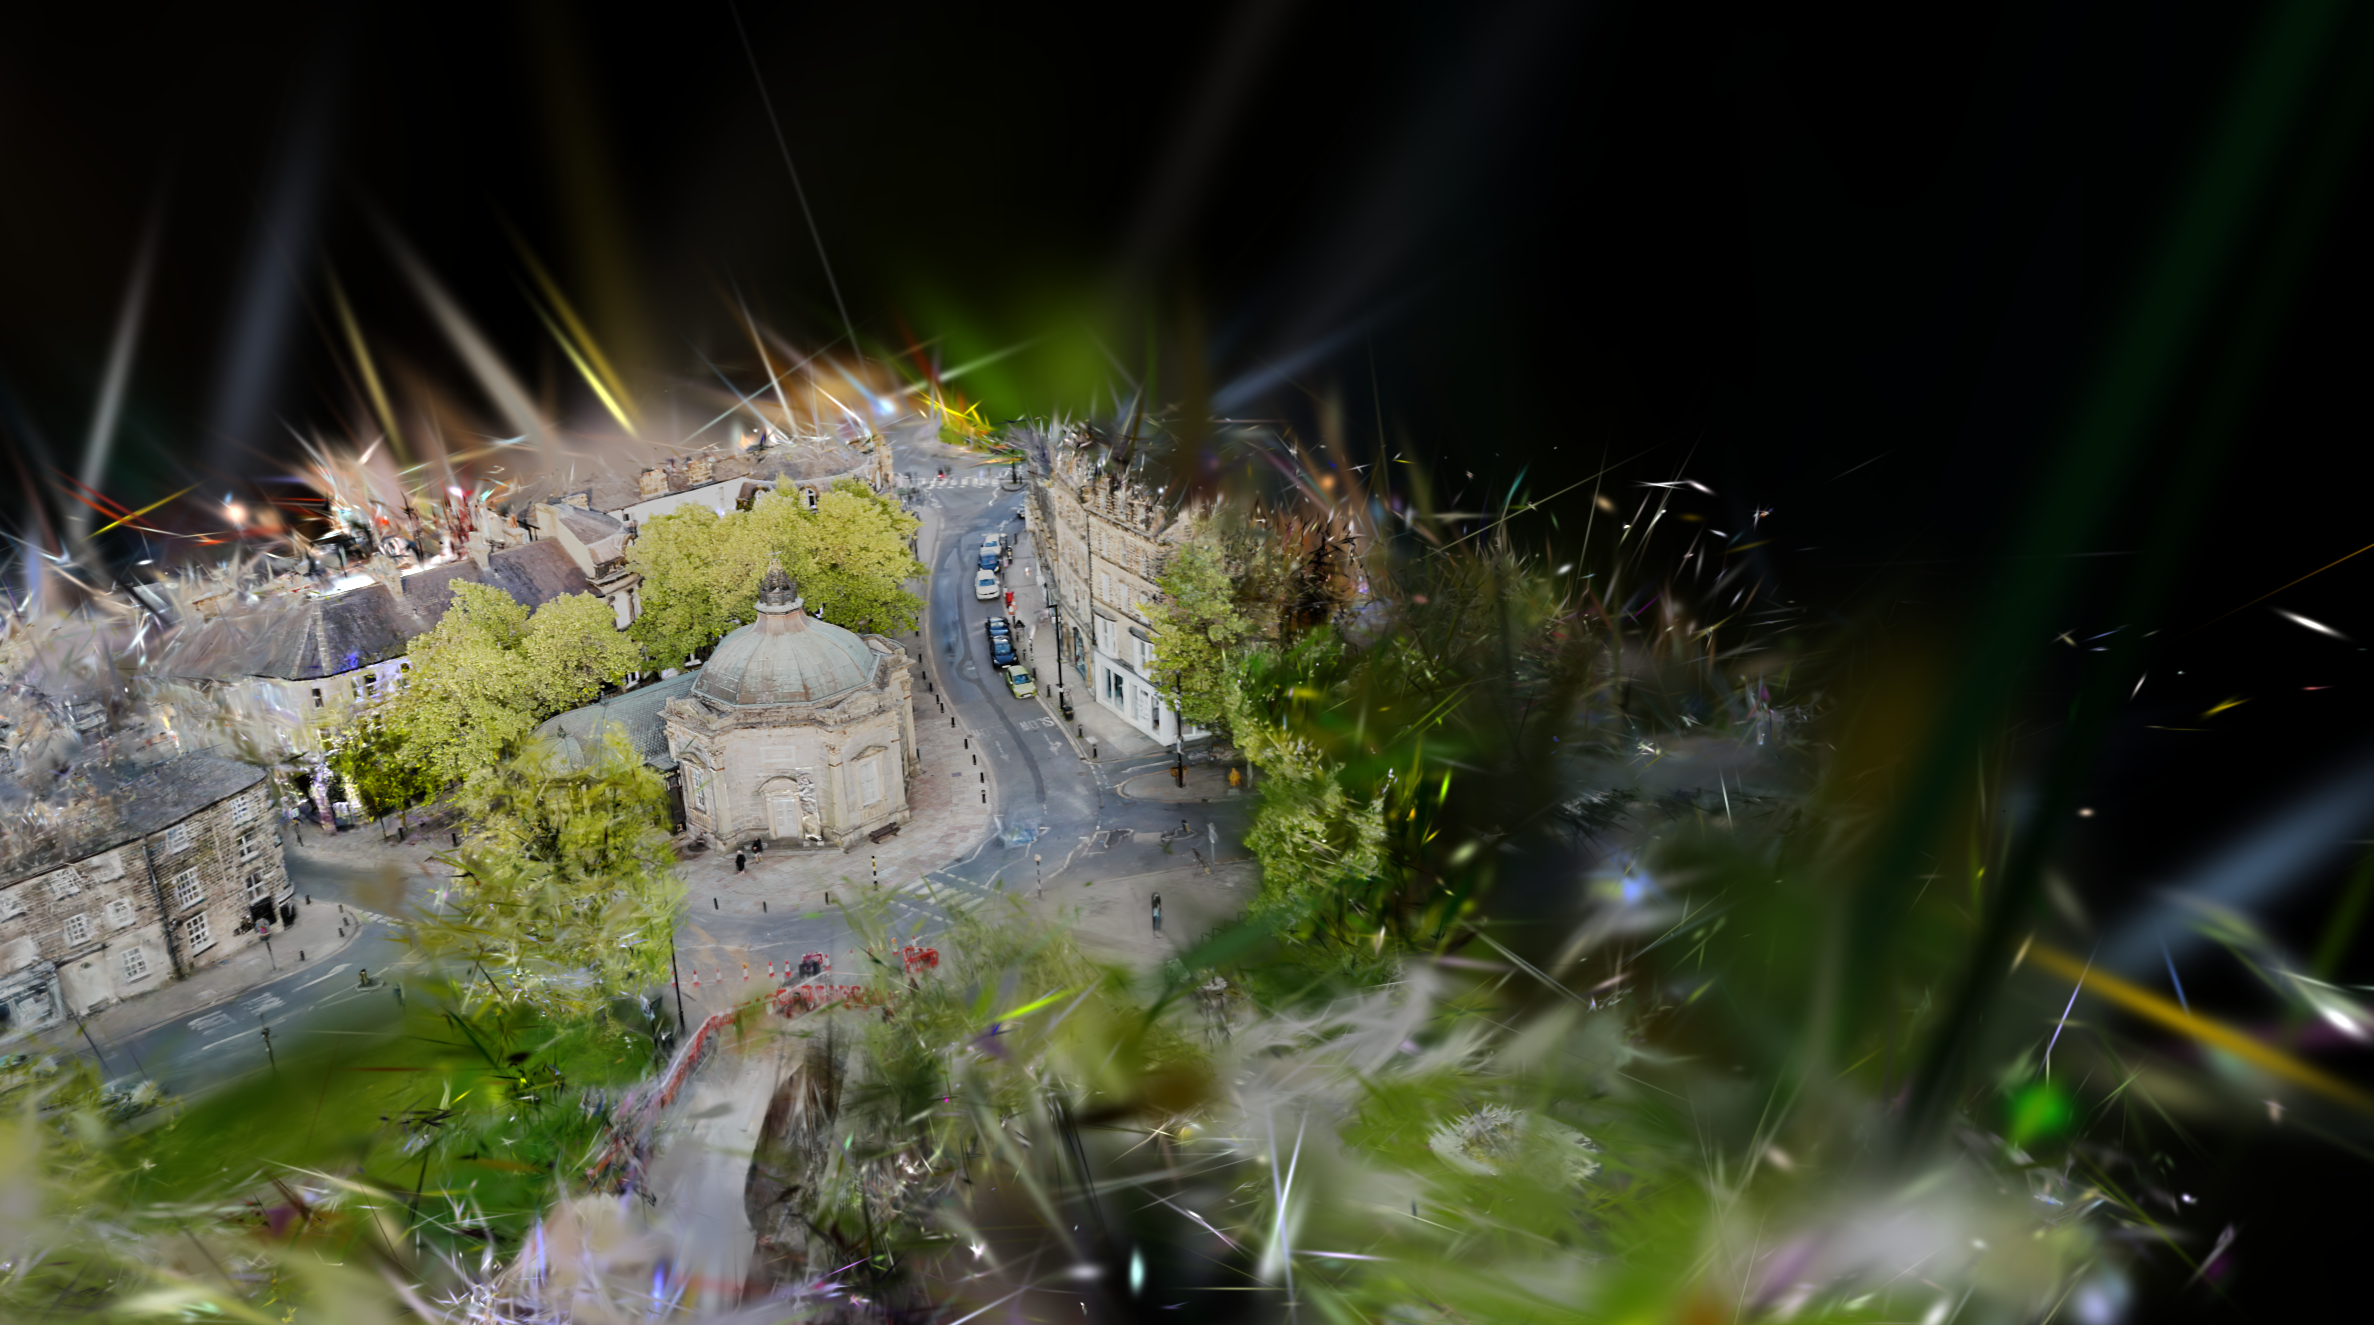
Example Results

Troubleshooting
COLMAP Issues
- Sparse reconstruction: Reduce frame step size
- No reconstruction: Check frame quality and overlap
- Crashes: Reduce image resolution or number of frames
Brush Training Issues
- Slow training: Reduce max resolution or total steps
- Poor quality: Increase training steps or check COLMAP quality
- Crashes: Check GPU memory and reduce batch size
General Tips
- Run Blender from command line to see detailed output
- Save your work frequently
- Keep organized folder structure for projects
- Document your settings for reproducible results
Next Steps
- Experiment with different videos and scenes
- Try advanced Brush training parameters
- Create animations with your 3D Gaussian Splats
- Share your results with the community!
Contributing
The best thing someone can do is try this workflow with their own drone videos and please tell me about your experience. This is the very first iteration of this and I know with an engaged open source community we can create some amazing splats, renders, experiences and art.
If you have any ideas for further features, or bug reports, or want to help work on documentation, please feel free to fork the code and send a pull request or reach out.
Happy Splatting! 🎨