SkySplat Blender Installation
This guide will walk you through installing the SkySplat Blender addon and all required dependencies for 3D Gaussian Splatting support.
⭐ Support the Project
If you find SkySplat useful, please star the repository on GitHub! It helps others discover the project.
⭐ Star on GitHub
Requirements
- Blender 5.0.0 or newer (also compatible with Blender 4.0+)
- COLMAP (for reconstruction features)
- Brush App binaries (bundled with addon)
New in v0.4.0:
- Blender 5.0 compatibility
- Multi-instance workflow
- Animated camera creation
Installation
1. Download and Install SkySplat
-
Download the latest release zip file from SkySplat Releases
OR
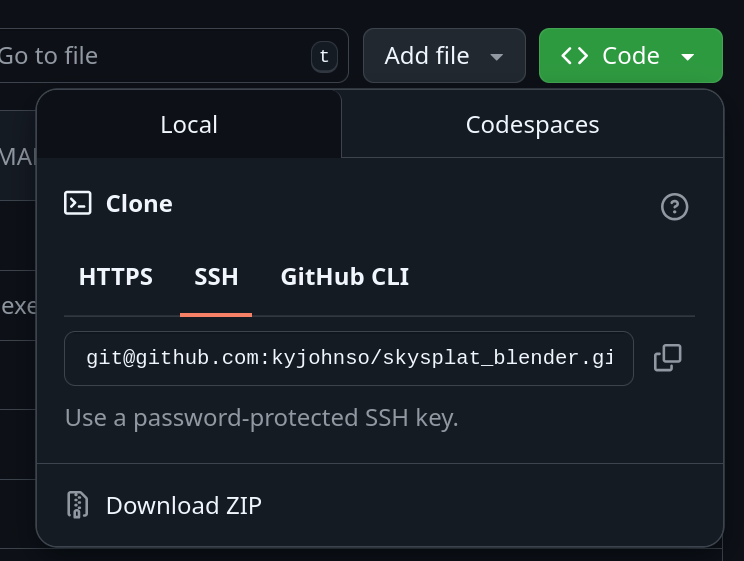
Download the latest development version via the GitHub Download ZIP link under the code button at skysplat_blender
-
Open Blender and navigate to Edit → Preferences → Add-ons
-
Click “Install…” and select the downloaded ZIP file
-
Enable the addon by checking the box next to “3D View: SkySplat: 3DGS Blender Toolkit”
2. Install COLMAP
COLMAP is required for the Structure from Motion reconstruction features. Choose the installation method for your operating system:
macOS (Recommended: Homebrew)
brew install colmap
The executable will be installed to /opt/homebrew/bin/colmap (Apple Silicon) or /usr/local/bin/colmap (Intel).
Linux (Package Manager)
Ubuntu/Debian:
sudo apt update
sudo apt install colmap
Fedora/RHEL:
sudo dnf install colmap
Arch Linux:
sudo pacman -S colmap
The executable will typically be installed to /usr/bin/colmap.
Windows (Pre-compiled Binary)
- Download the latest Windows release from COLMAP GitHub Releases
- Extract the ZIP file to a location like
C:\Program Files\COLMAP\ - The executable will be at
C:\Program Files\COLMAP\bin\colmap.exe - Optionally, add the
bindirectory to your system PATH for easier access
Note: For SkySplat to work properly, you’ll need to know the path to the COLMAP executable. The addon will attempt to auto-detect common installation paths, but you can manually specify the path in the COLMAP panel if needed.
3. Fix Brush Binary Permissions
Brush binaries are bundled with the addon for all platforms. On macOS and Linux, you need to make them executable and may need to remove quarantine attributes.
macOS
# Navigate to the addon binaries directory
cd ~/Library/Application\ Support/Blender/5.0/scripts/addons/skysplat_blender/binaries/

# Make executable
chmod +x brush_app_mac

# Remove quarantine attribute (if you get "Apple could not verify" error)
xattr -d com.apple.quarantine brush_app_mac
Linux
# Navigate to the addon binaries directory
cd ~/.config/blender/5.0/scripts/addons/skysplat_blender/binaries/

# Make executable
chmod +x brush_app_linux
Windows
No additional steps required - the .exe file should work directly.
Alternative: Build from Source
For the most up-to-date version or if you want to modify the source code:
-
Install Rust (if not already installed):
curl --proto '=https' --tlsv1.2 -sSf https://sh.rustup.rs | sh source ~/.cargo/env -
Clone and build Brush:
git clone https://github.com/ArthurBrussee/brush.git cd brush cargo build --release -
Locate the executable:
- Windows:
target/release/brush_app.exe - macOS/Linux:
target/release/brush_app
- Windows:
Important: You will need to specify the full path to the compiled executable (e.g., /home/username/brush/target/release/brush_app) in the SkySplat 3DGS panel’s “Brush Executable” field.
Note: The SkySplat addon will automatically attempt to detect binaries in the addon’s binaries directory first, then fall back to common build locations like ~/projects/brush/target/release/brush_app. If none are found, you can manually specify the path in the 3DGS panel.
Running Blender from Command Line
To monitor the detailed output of COLMAP processing, Brush training, and other operations, it’s recommended to run Blender from the command line. This allows you to see real-time console output and debug information that isn’t visible in the Blender GUI.
Command Line Usage
macOS:
/Applications/Blender.app/Contents/MacOS/Blender
Linux:
blender
Windows:
"C:\Program Files\Blender Foundation\Blender 5.0\blender.exe"
Or for Blender 4.0:
"C:\Program Files\Blender Foundation\Blender 4.0\blender.exe"
Benefits of CLI Usage
- COLMAP Output: See detailed reconstruction progress, feature detection statistics, and any error messages
- Brush Training: Monitor training iterations, loss values, and performance metrics in real-time
- Debug Information: View Python error traces and addon-specific logging
- Process Monitoring: Track subprocess execution and completion status
When running operations like “Run COLMAP” or “Run Brush Training”, the detailed output will appear in the terminal where you launched Blender, making it much easier to troubleshoot issues or monitor progress.
Verification
After installation, verify the addon is working:
-
Check the panel
- Open the sidebar in the 3D View (press N)
- Look for the “SkySplat” tab
-
Test the tools
- Try loading a video file in the Video Loader panel
- Verify COLMAP path is detected in the COLMAP panel
Troubleshooting
Common Issues
Addon doesn’t appear after installation
- Ensure you’re using Blender 5.0 or Blender 4.0+
- Check that the addon is enabled in Preferences
- Restart Blender
COLMAP not found
- Verify COLMAP is installed correctly
- Manually set the COLMAP executable path in the COLMAP panel
- Check the console for error messages
Brush executable permission denied (macOS/Linux)
- Follow Option 1 instructions to fix permissions with
chmod +x - Or download binaries separately and specify the path
Performance issues
- Ensure your GPU supports the required features
- Try reducing image resolution in training parameters
- Monitor system resources during processing
Getting Help
- Report issues on GitHub
- Join community discussions
- Check the SkySplat website for updates
Next Steps
- Complete Workflow Walkthrough
- Explore the example videos and datasets
- Join the community and share your results!